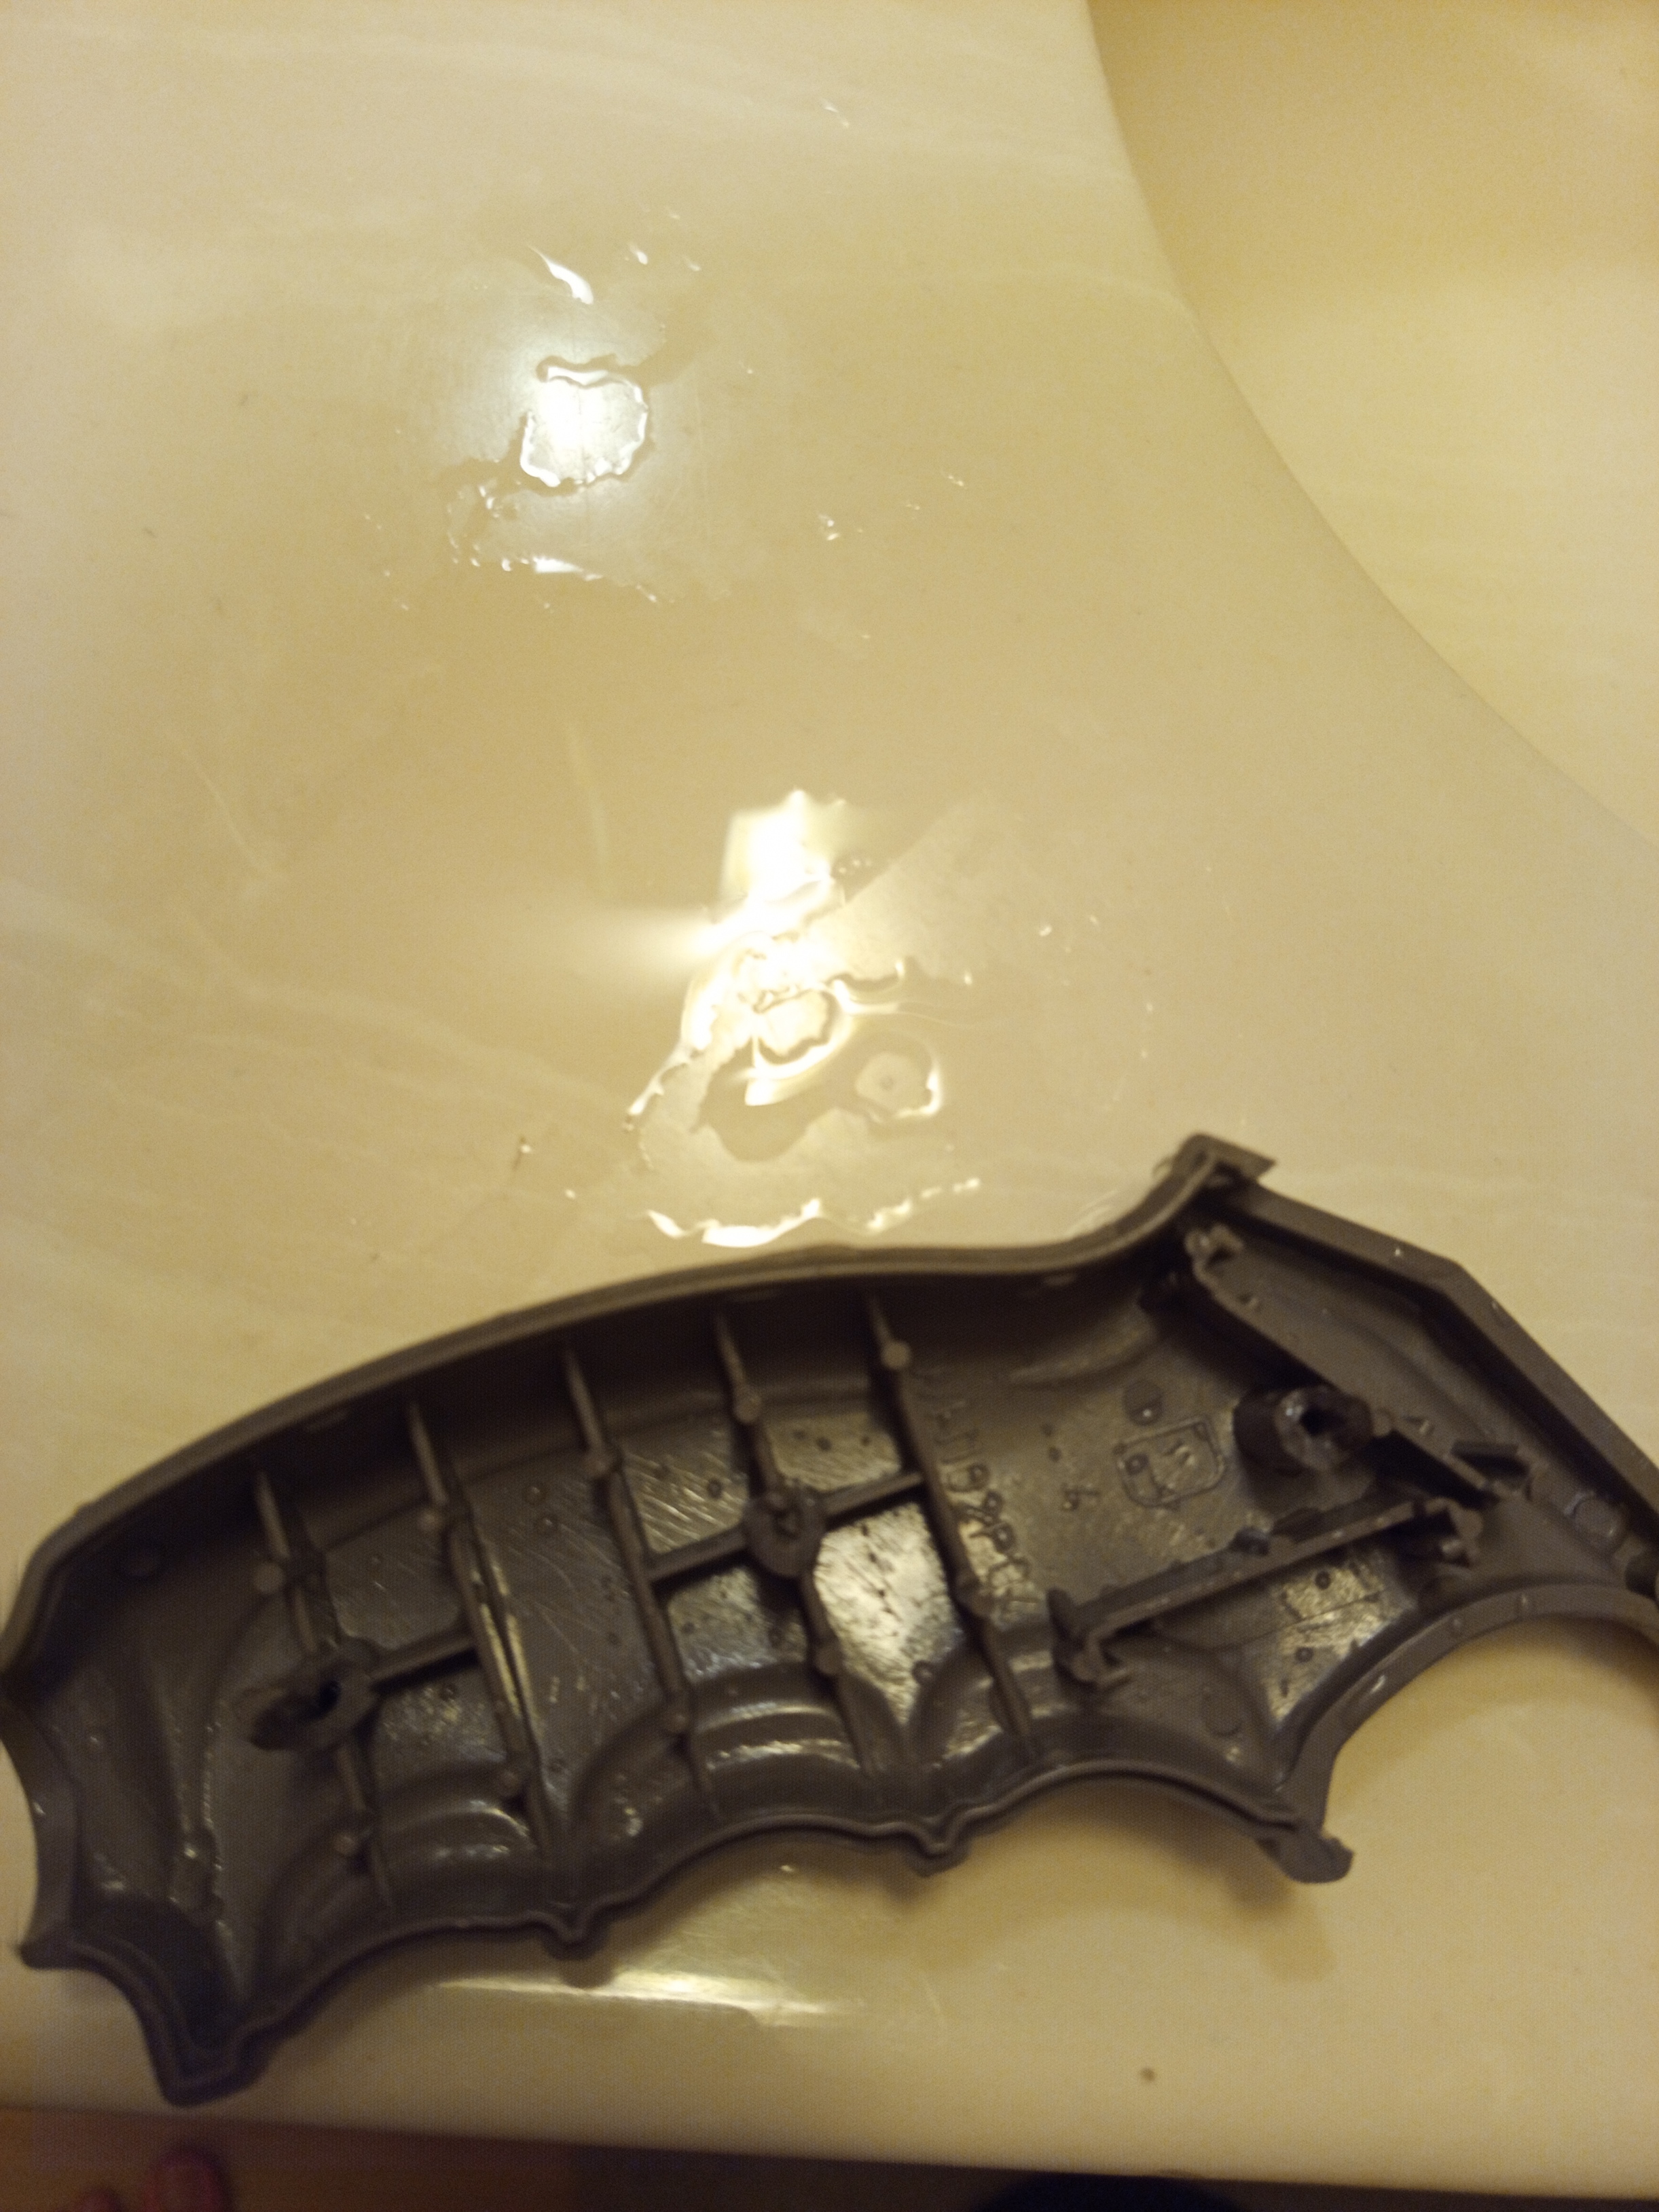
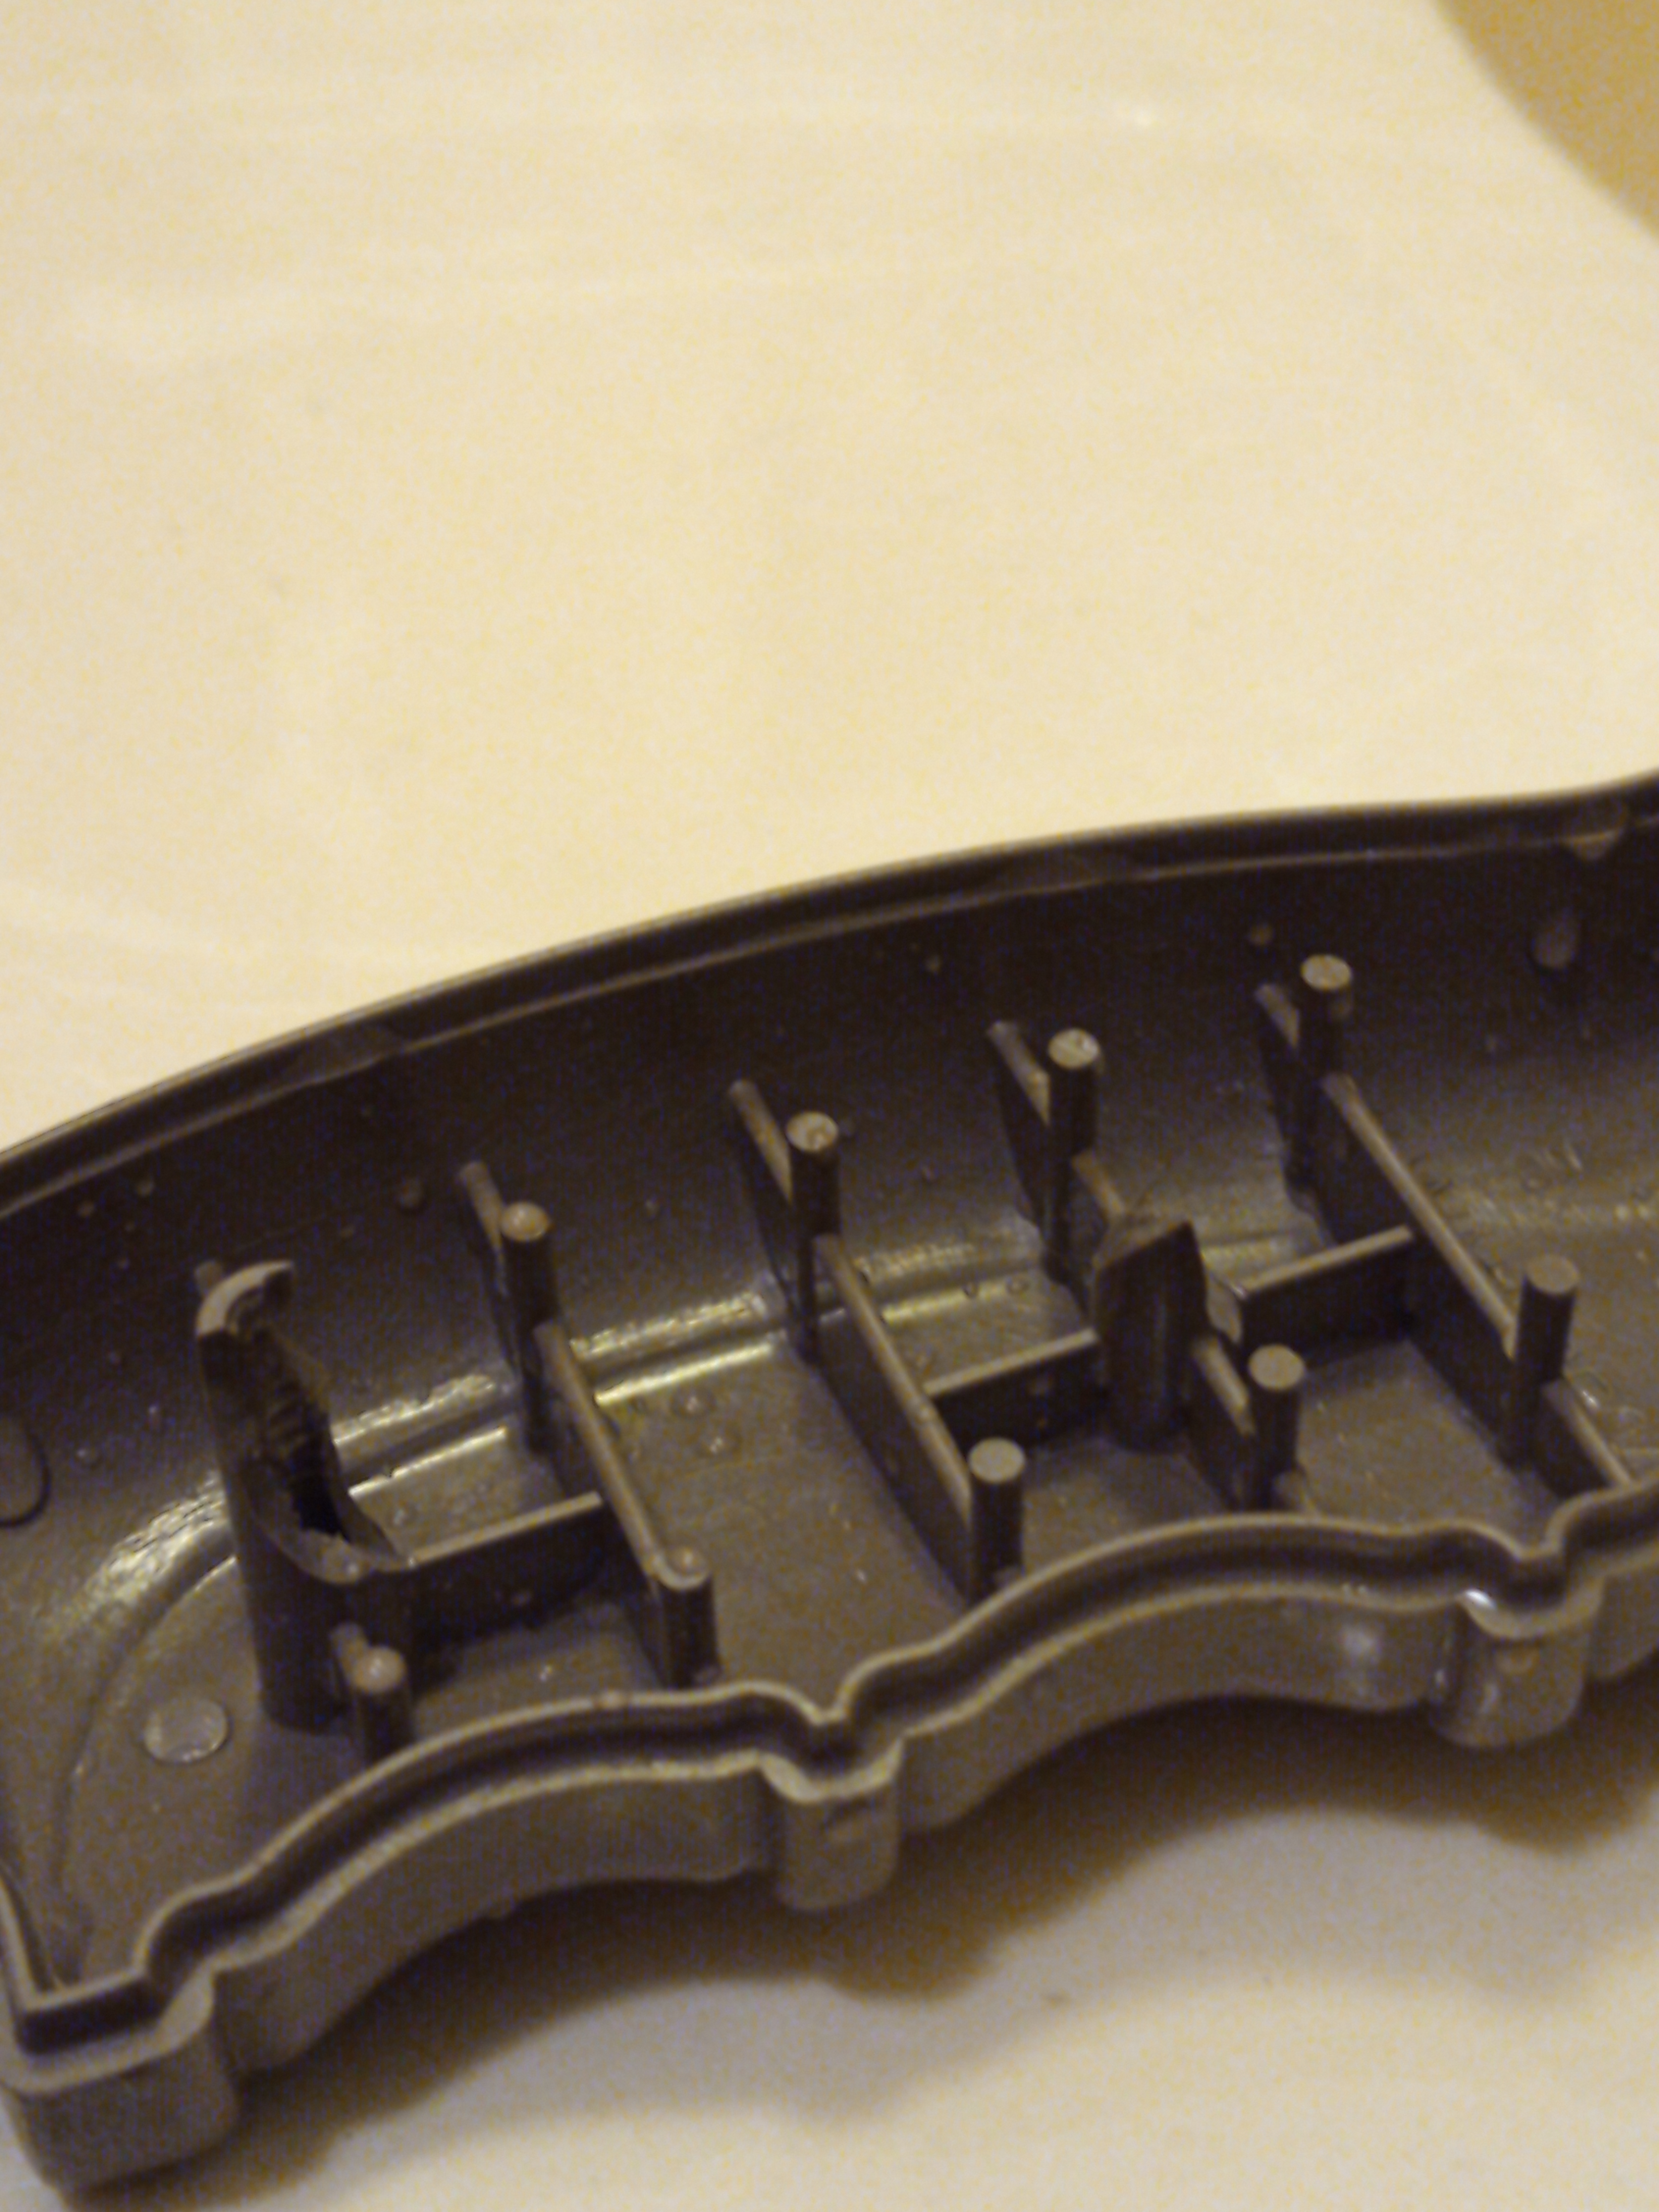
I’m trying to fix a Quickshot controller for the NES and when I unscrewed the joystick screws they each disintegrated as they came out. I tried to be gentle, but the plastic was simply too brittle.
Does anyone have a good way to repair destroyed screw posts?
Hey there,
I’ve replaced those in the past (on completely other things, though) by either using pcb spacer tubes or 3d printing small tubes. For iso metric screws you can cut a thread into the tubes, for the normal thread forming screws you just need the right sized hole. Take the prepared tube, cut to length and epoxy it into the casing you want to fix. It helps to carefully and completely remove the old screw post with a dremel or something.
Doesn’t neccessarily have the strength of the original, but for most things it works great
Edit: If it is a simple part, model and 3d print the whole part.
Hey there,
a little follow up. I’ve had very good results when printing using tough PLA (or something similar). I always print the part a lot bigger and chunkier than I’d need to, that way you can get excellent stability, often even stronger than the original. Usually you’ve got the space and it’s not visible anyways.
Regarding the thread forming screws: If you heat them up (lighter, hot air gun) before screwing them in for the first time they’ll go in like in butter
The PCB spacer tube is a great idea and sort of what I went with. I did think about using a 3D printed part, but I don’t have convenient access to a printer.
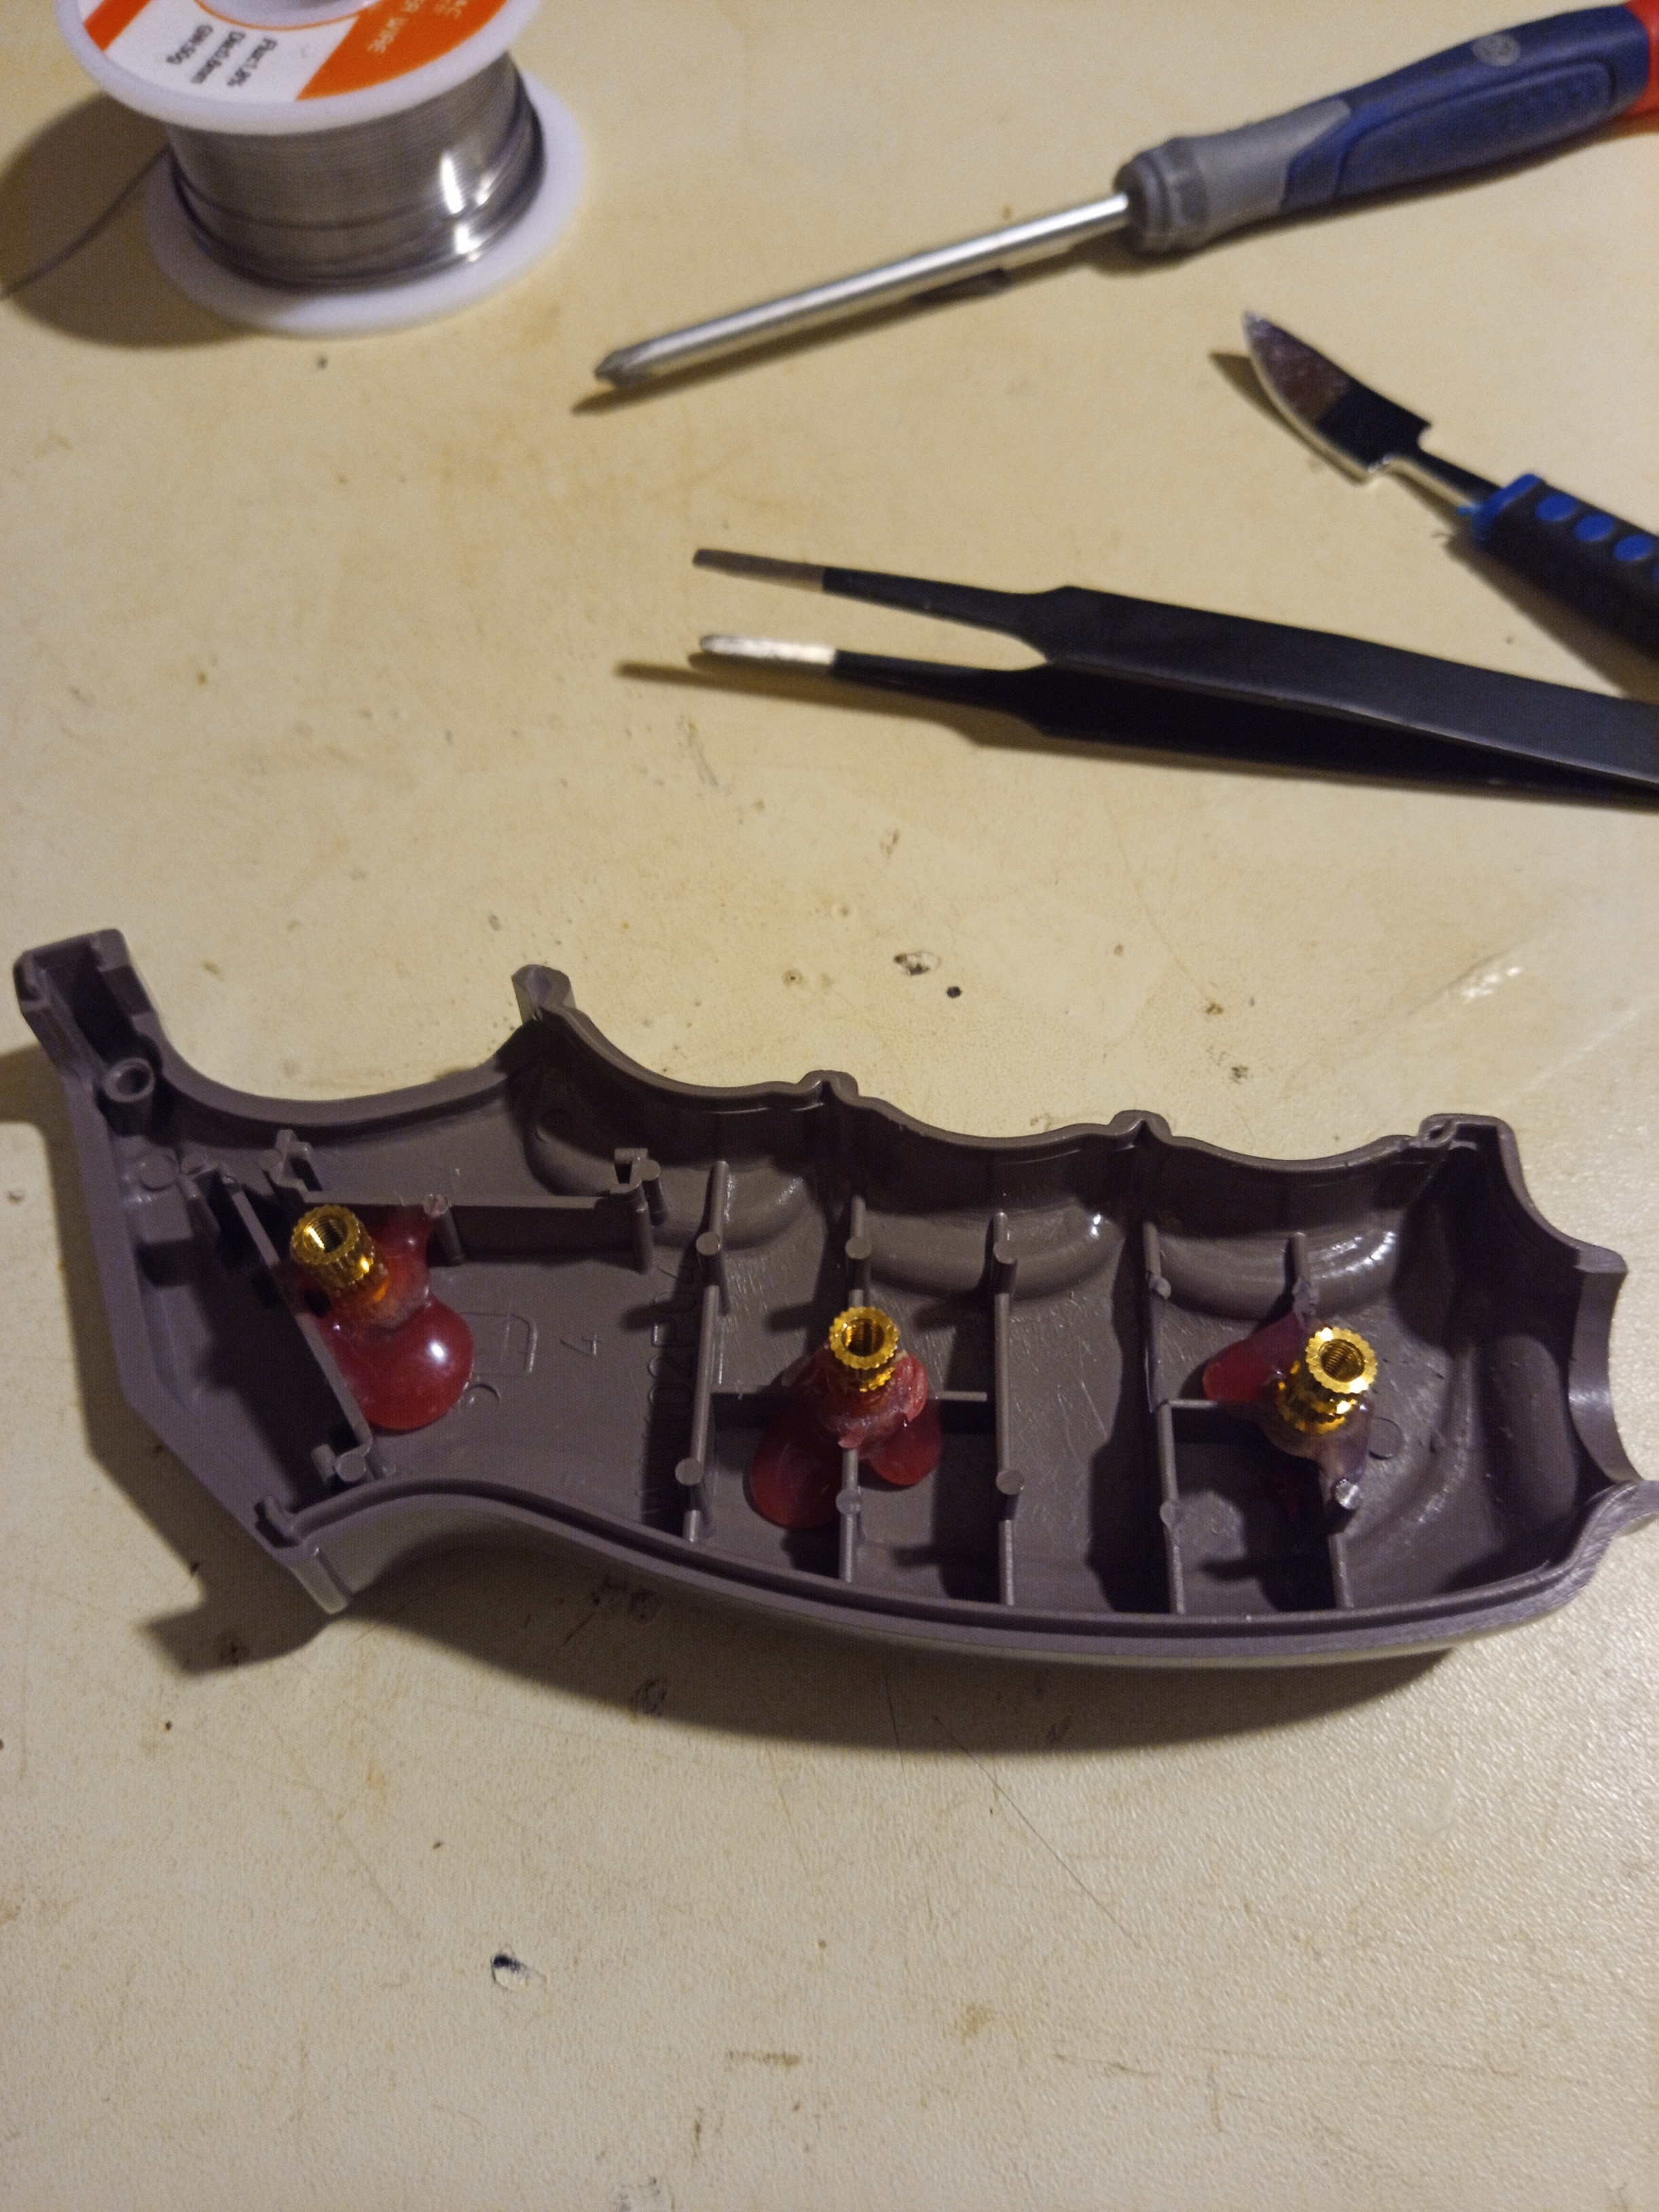
I went with something similar to your idea that I came across in another forum. Using some Brass Thread Inserts (www amazon com/gp/product/B07MWBJB67/r), I was able to heat them up with a soldering iron and embed them into the plastic (after trimming off the jagged pieces).
I added some hot glue to around the base of the inserts for some added support. On the bottom one I initially added too much glue and the glue kept the insert from fitting into the controller properly. After trimming the glue back and trying again things fit fine.
Beat me to it and nice job. We use those at work to replace screw holes on OEC foot switches. They are often stronger than the original but I might epoxy them instead of glue because it would be a stronger repair.