Yes, just thin pliers, nothing sophisticated.
Which reed switch is installed in the handpiece. Does anyone have an address on Aliexpress? (220V version)
Cool, thanks
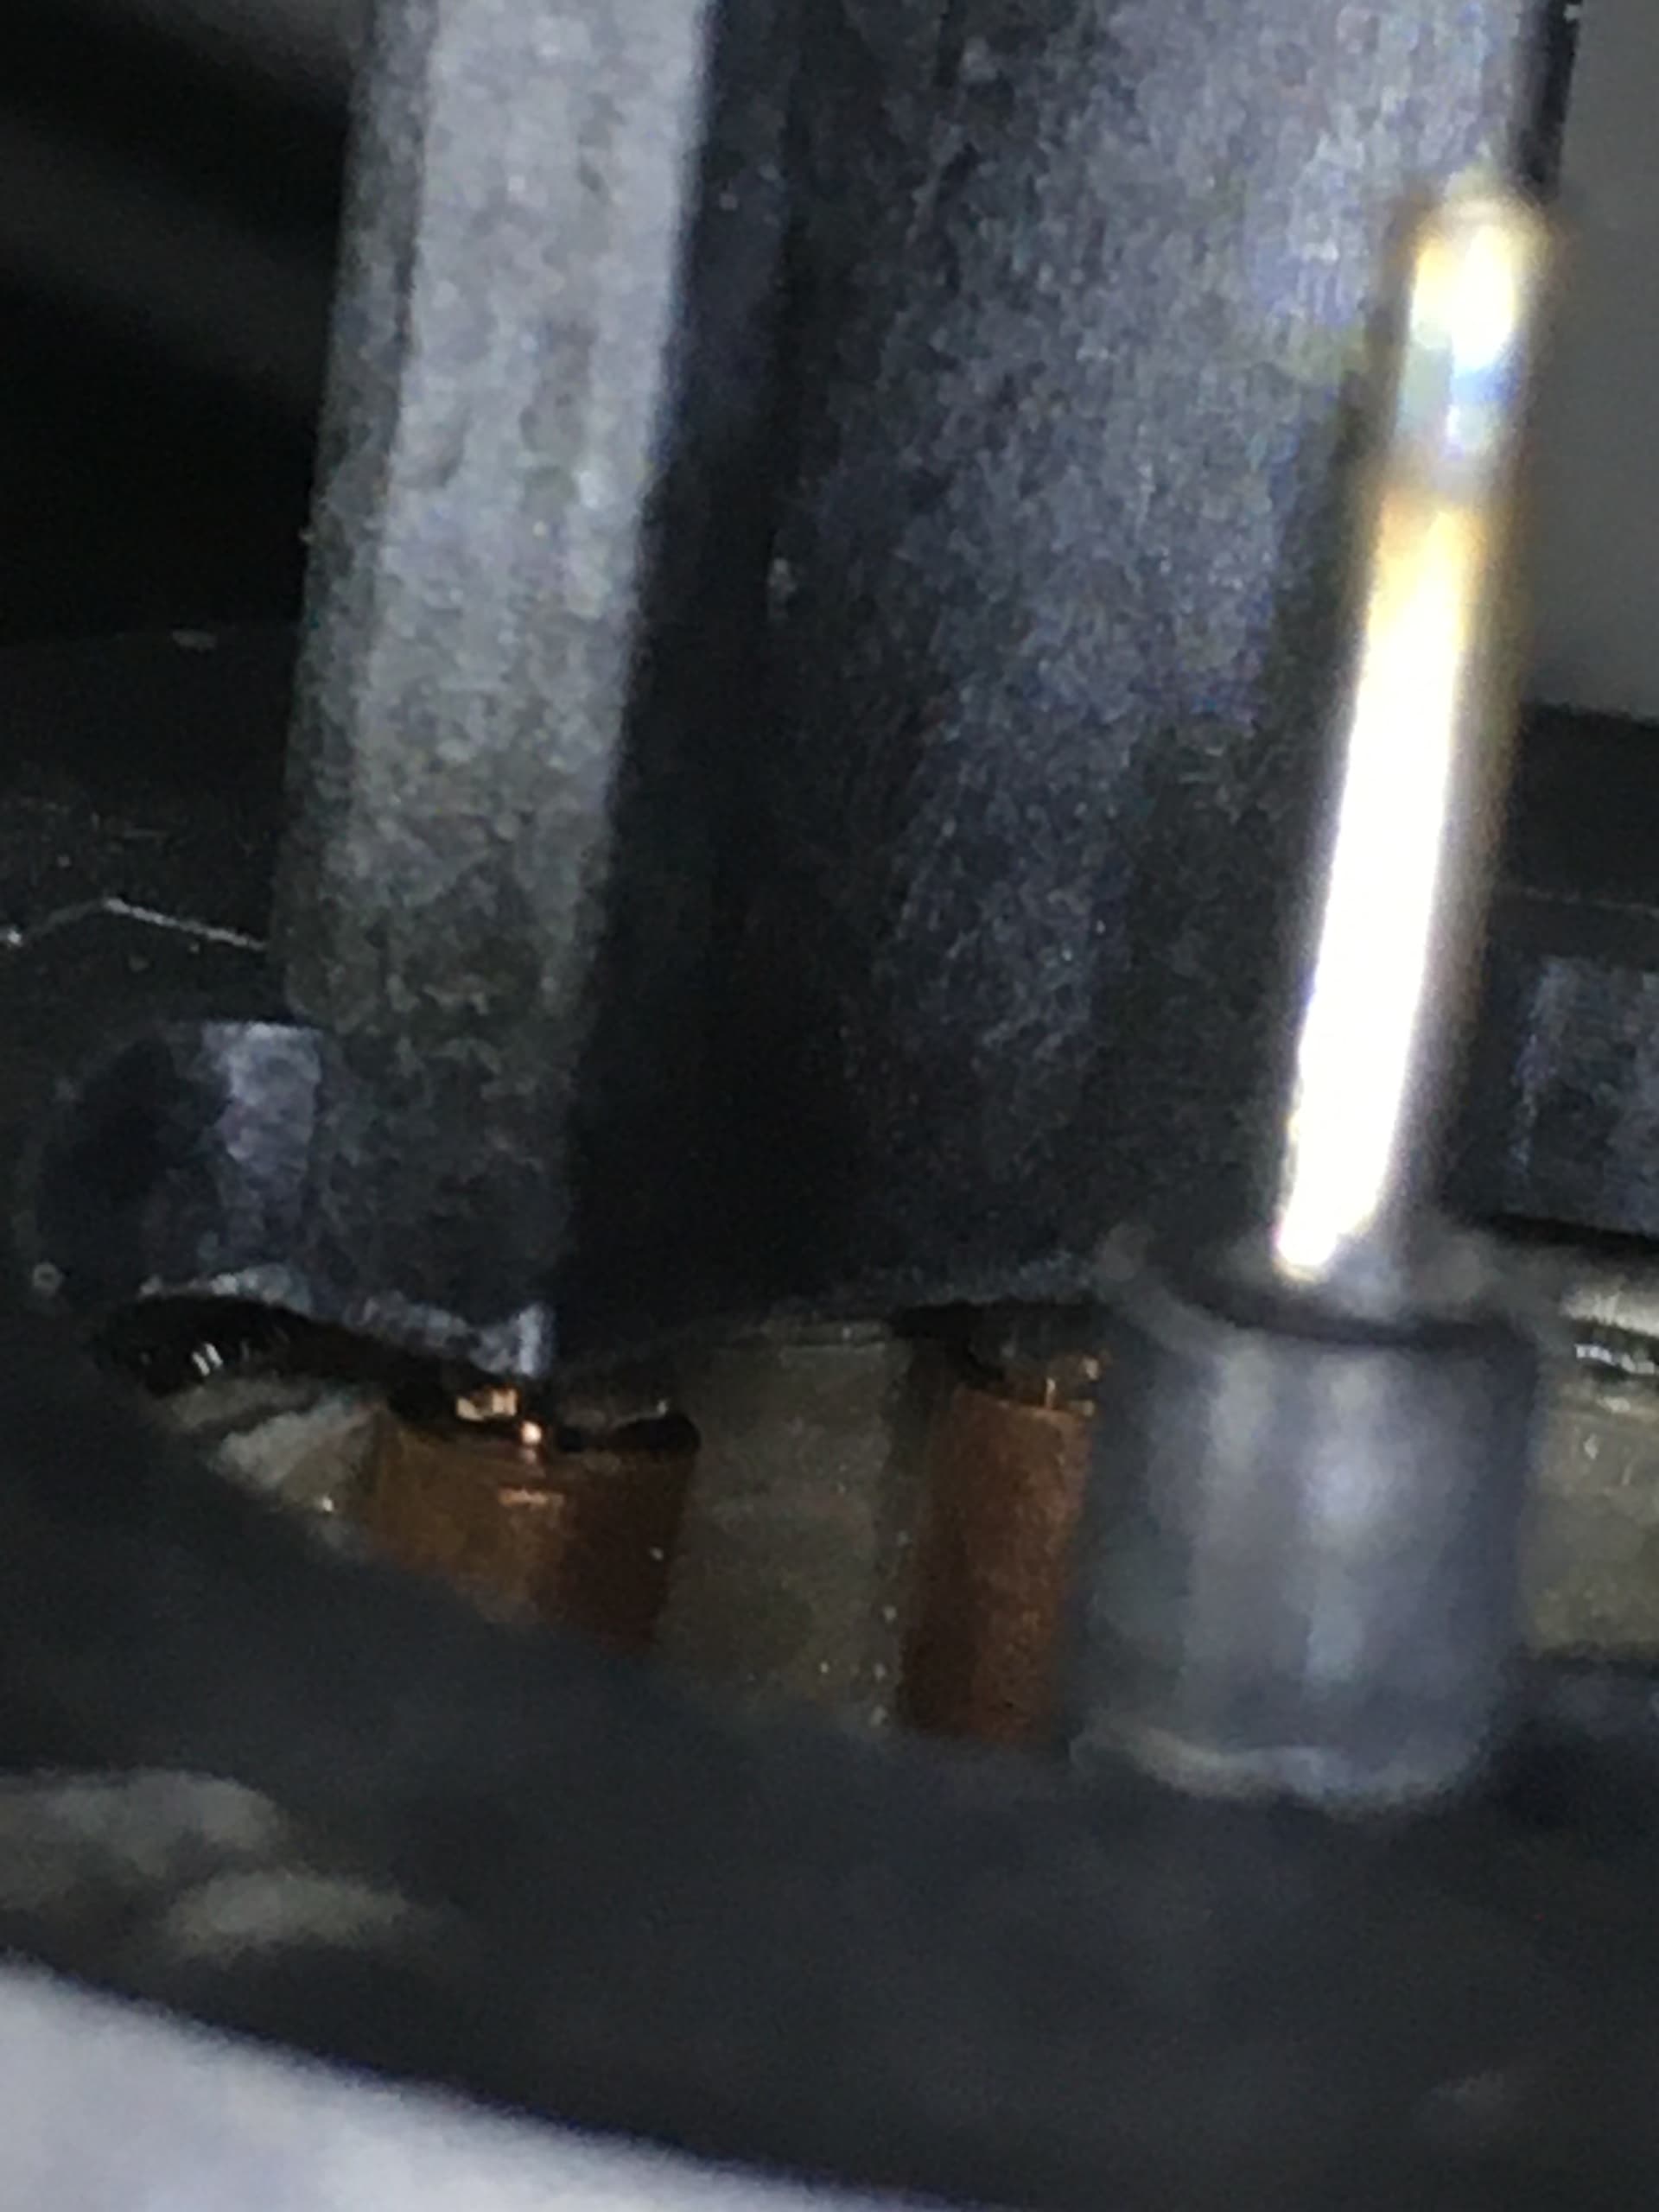
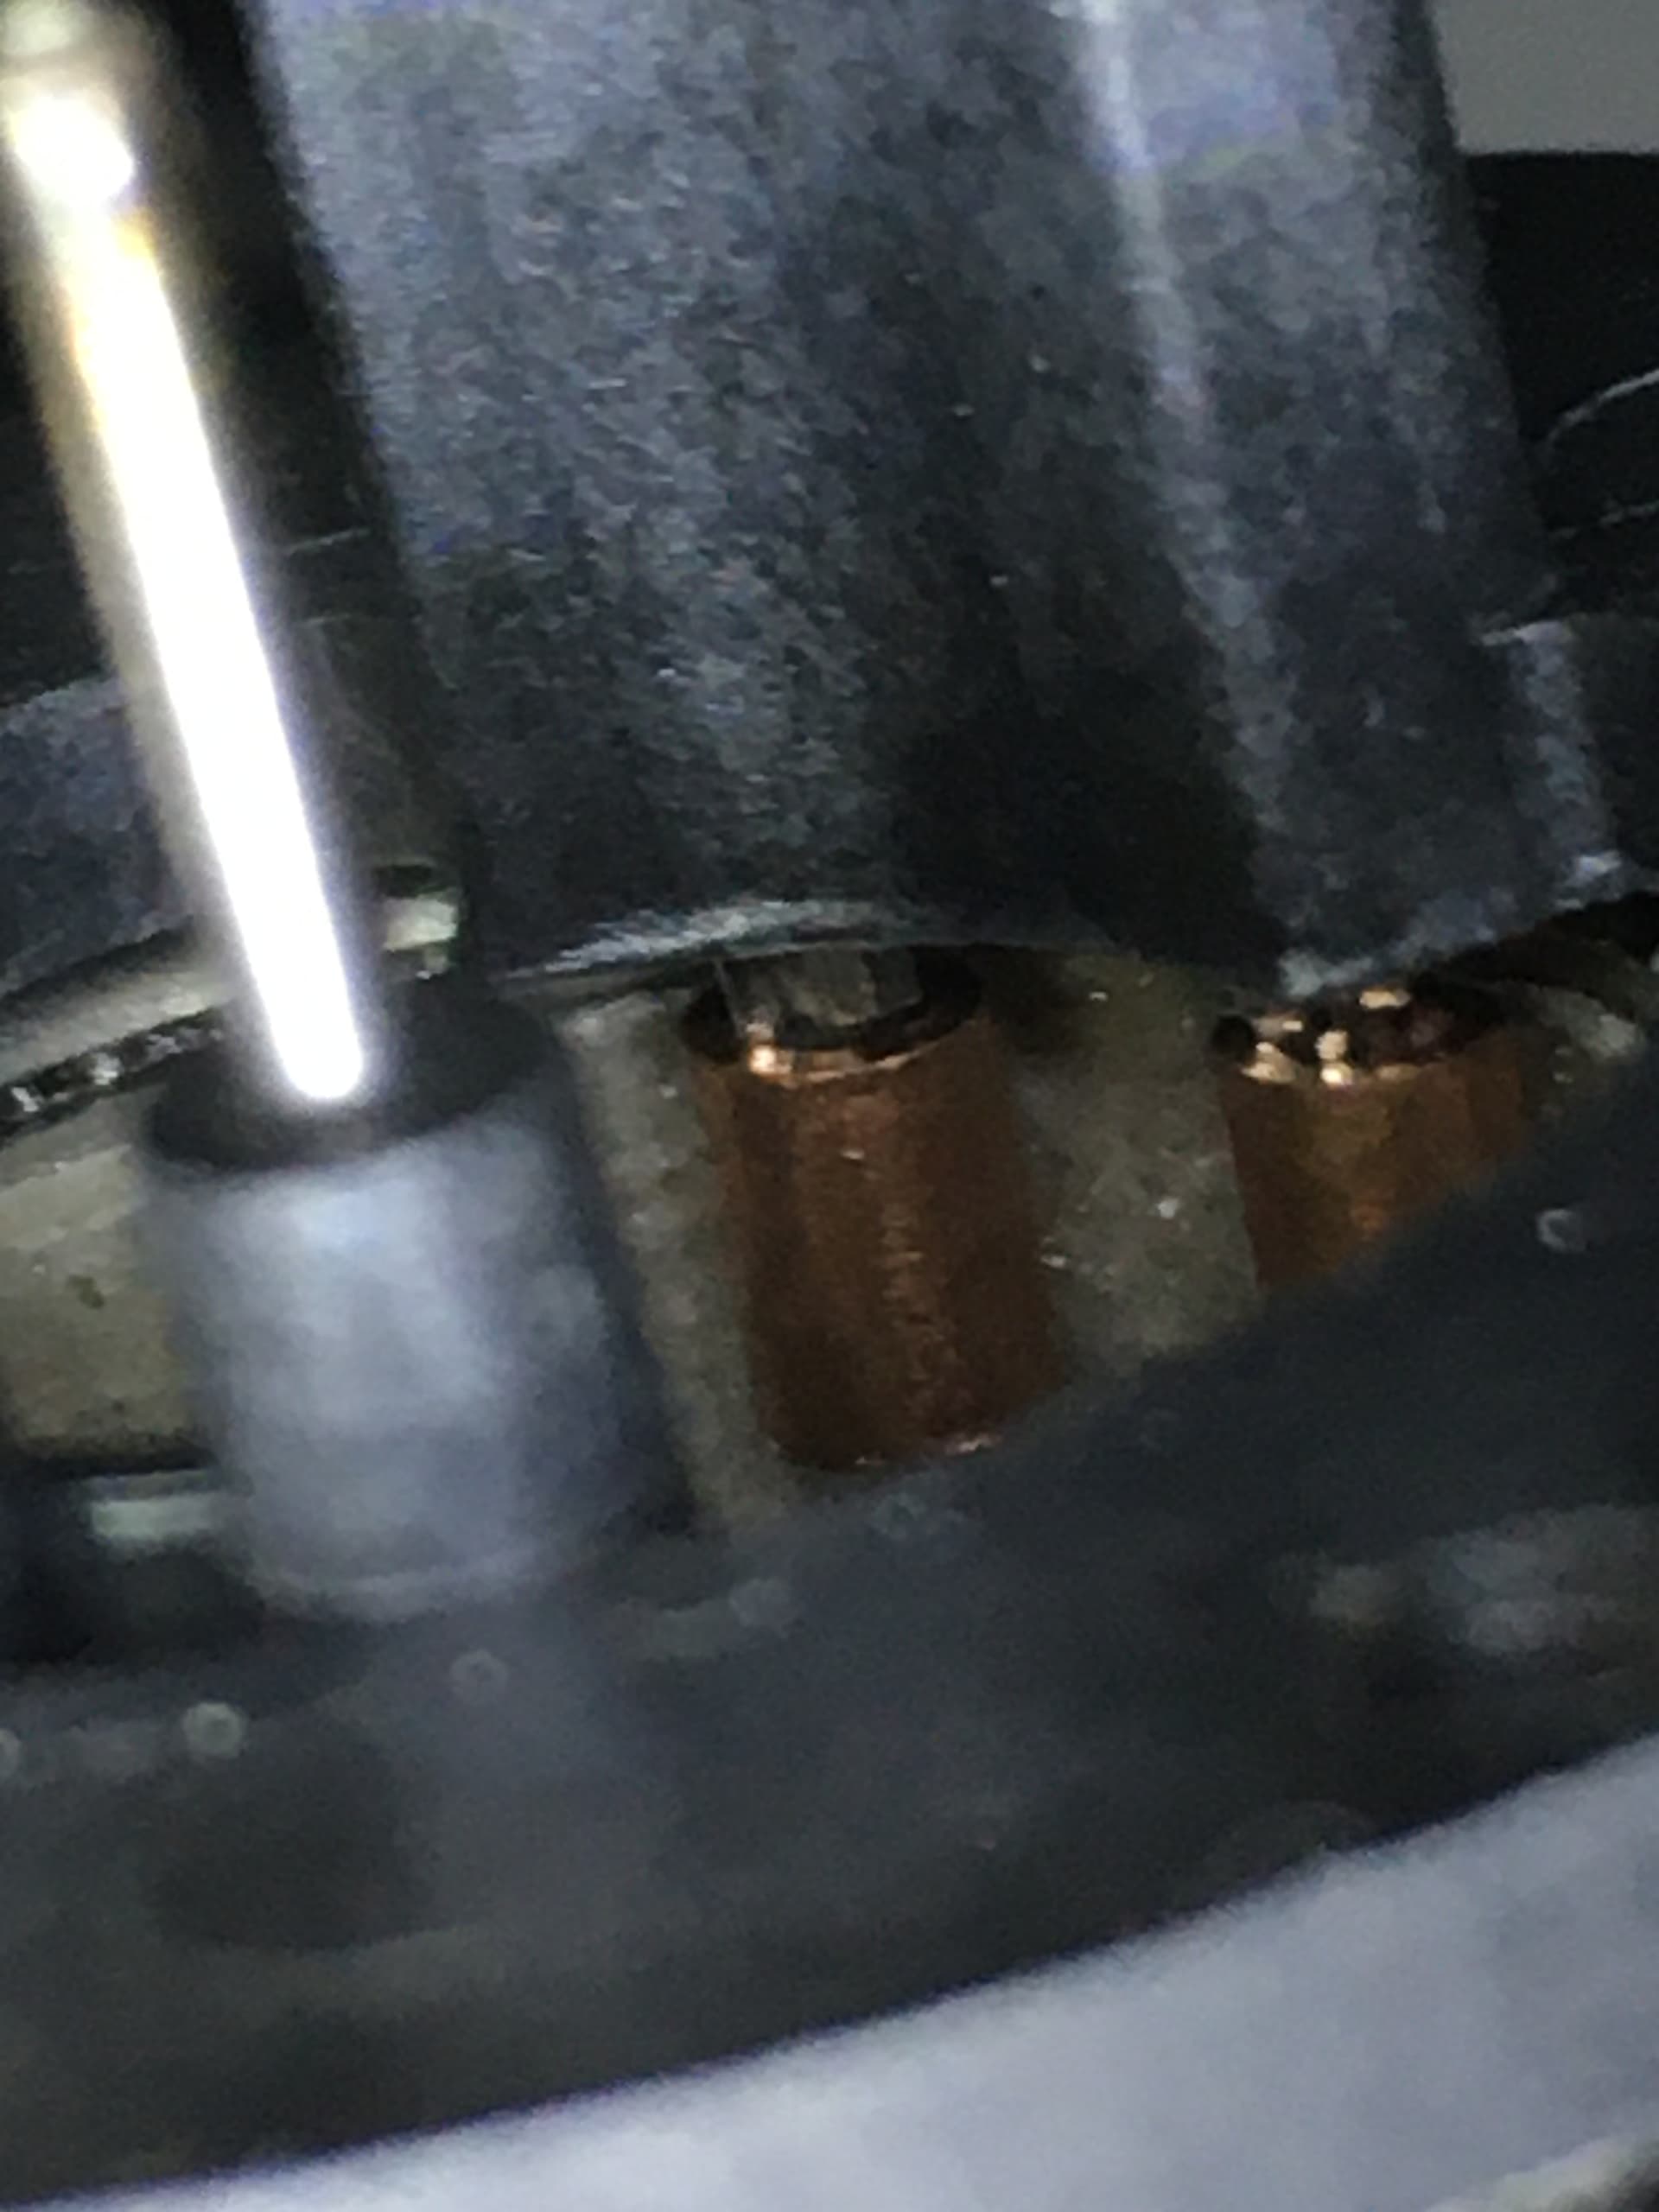
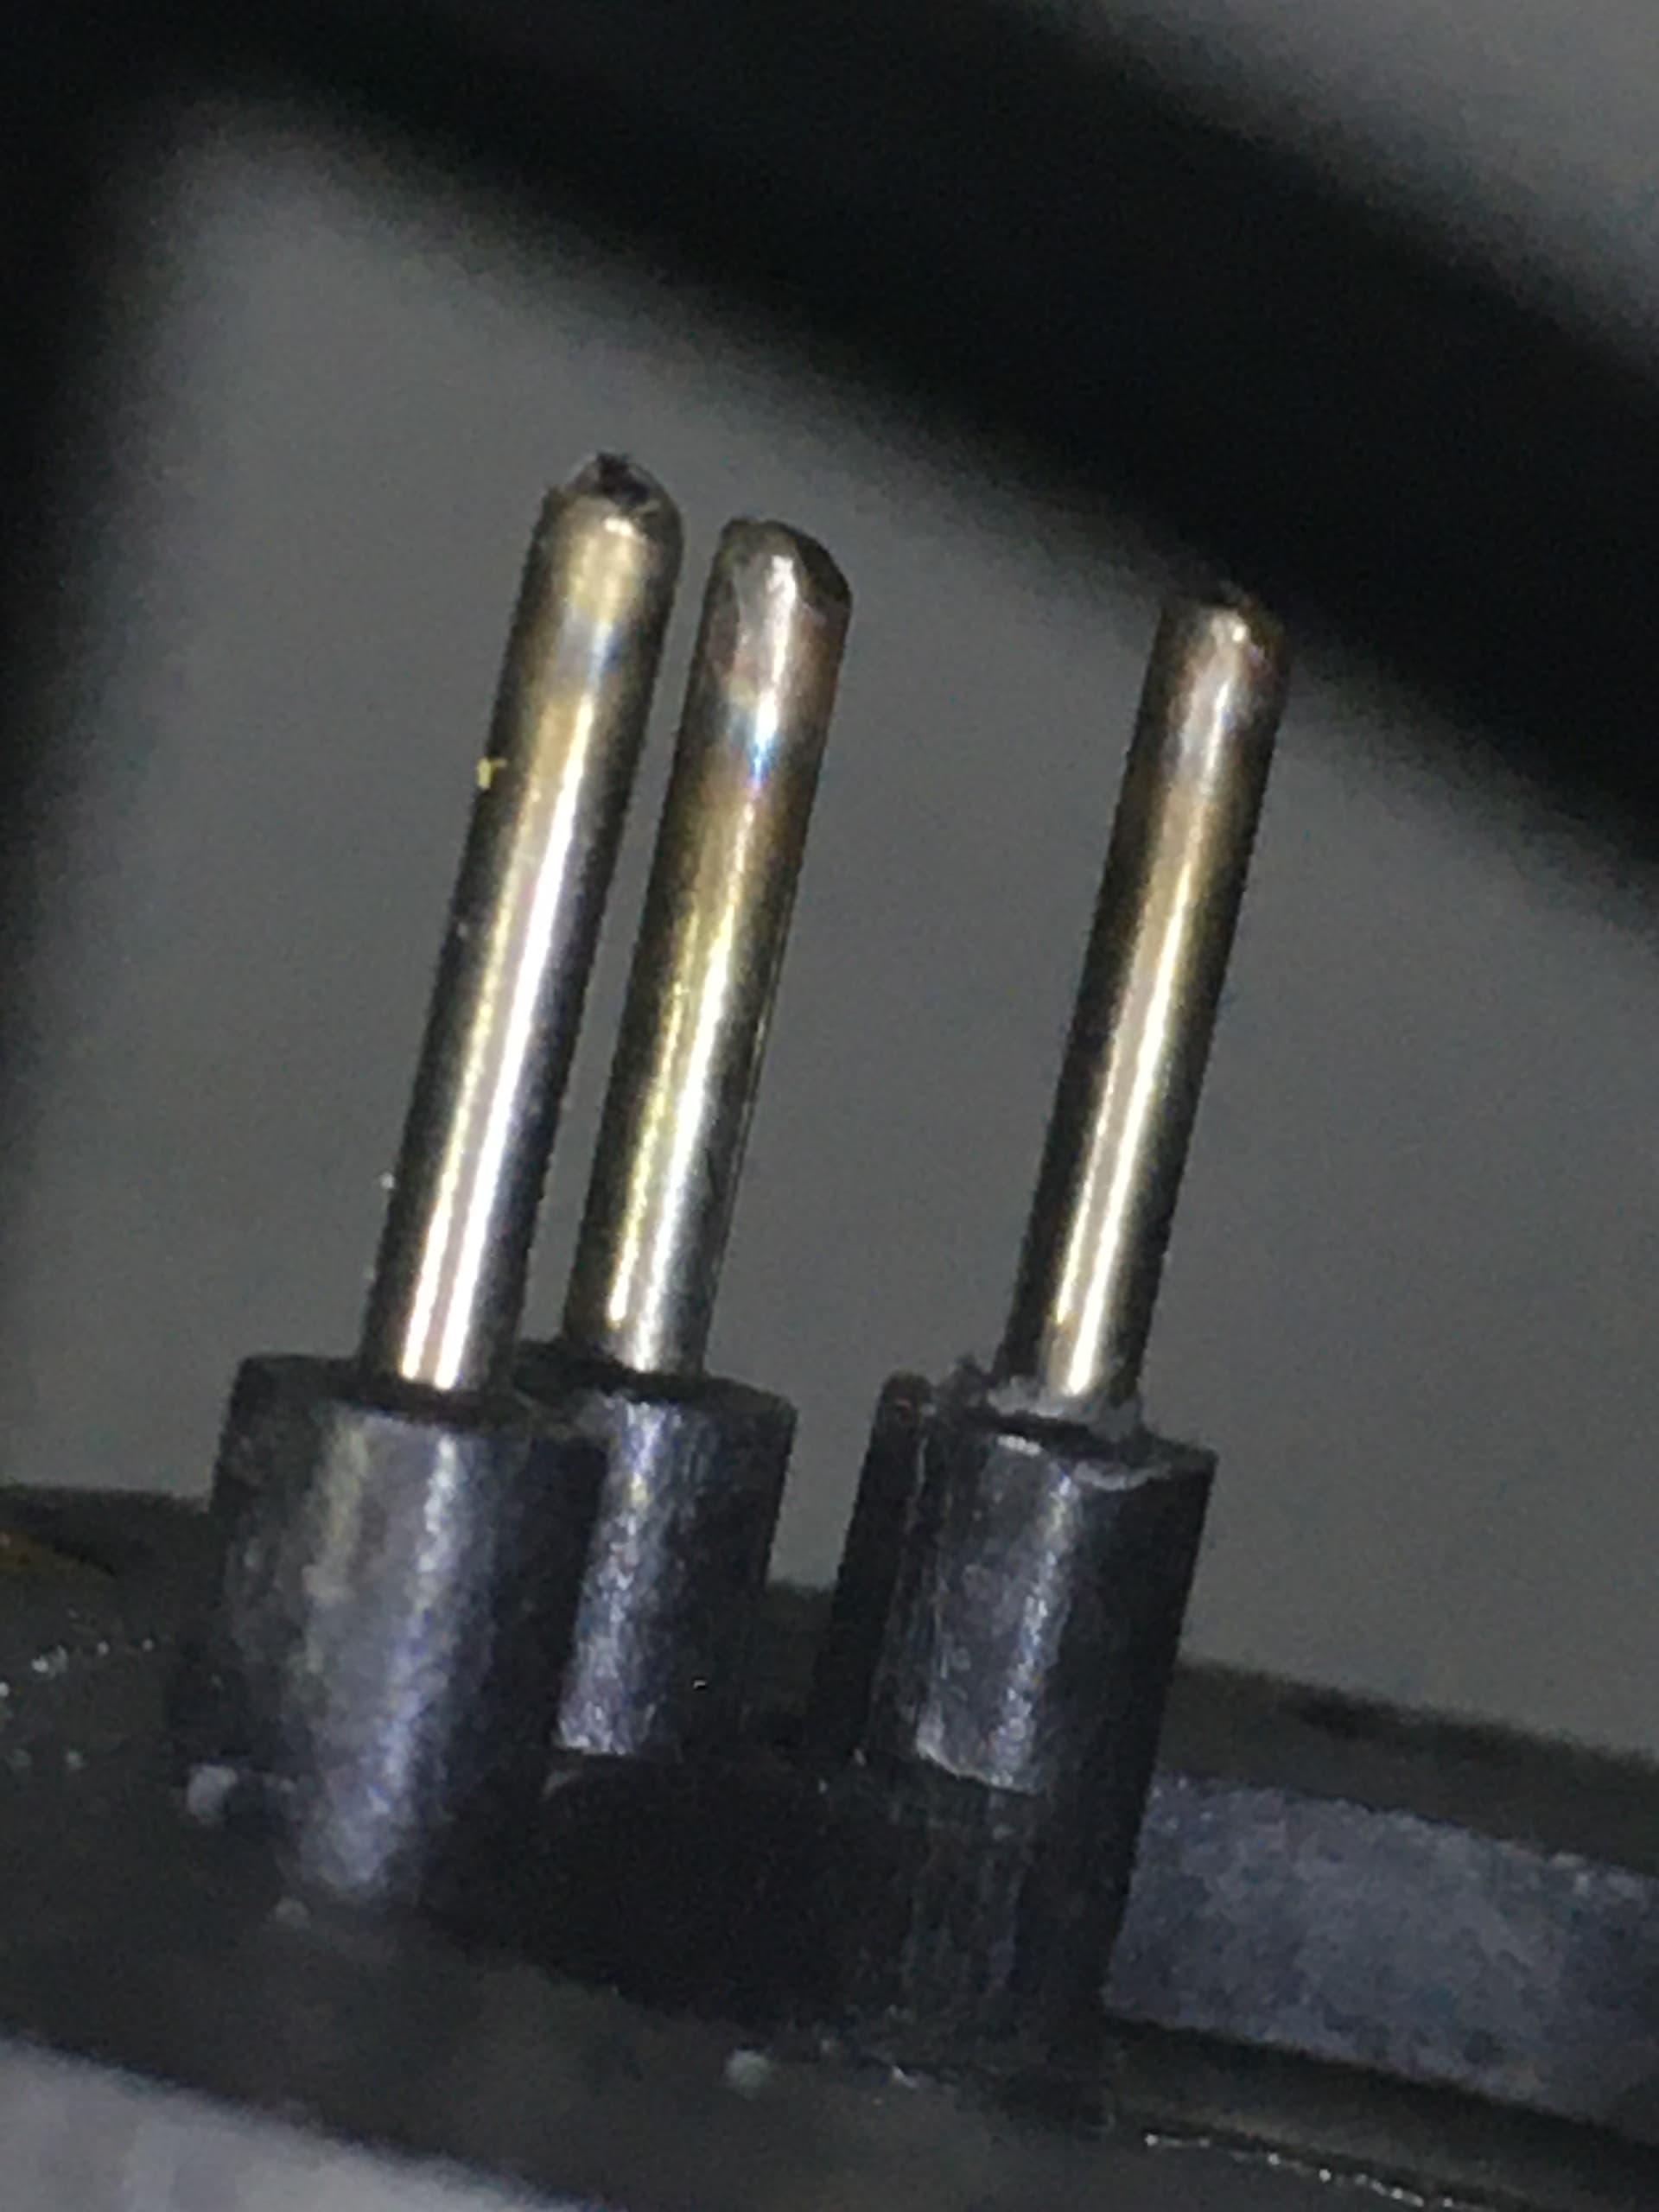
So I just opened mine up to have a look and it seems it’s using your standard tin/nickel coated crimp contacts which the element wires are in, then they’re sliding those copper tubes over top of them (for some reason) mine didn’t appear to be loose at all (which suggests they’re properly crimped but a bit hard to see) but I did notice some tarnishing of the male contacts the opposite side so polished them up with some p7000 paper
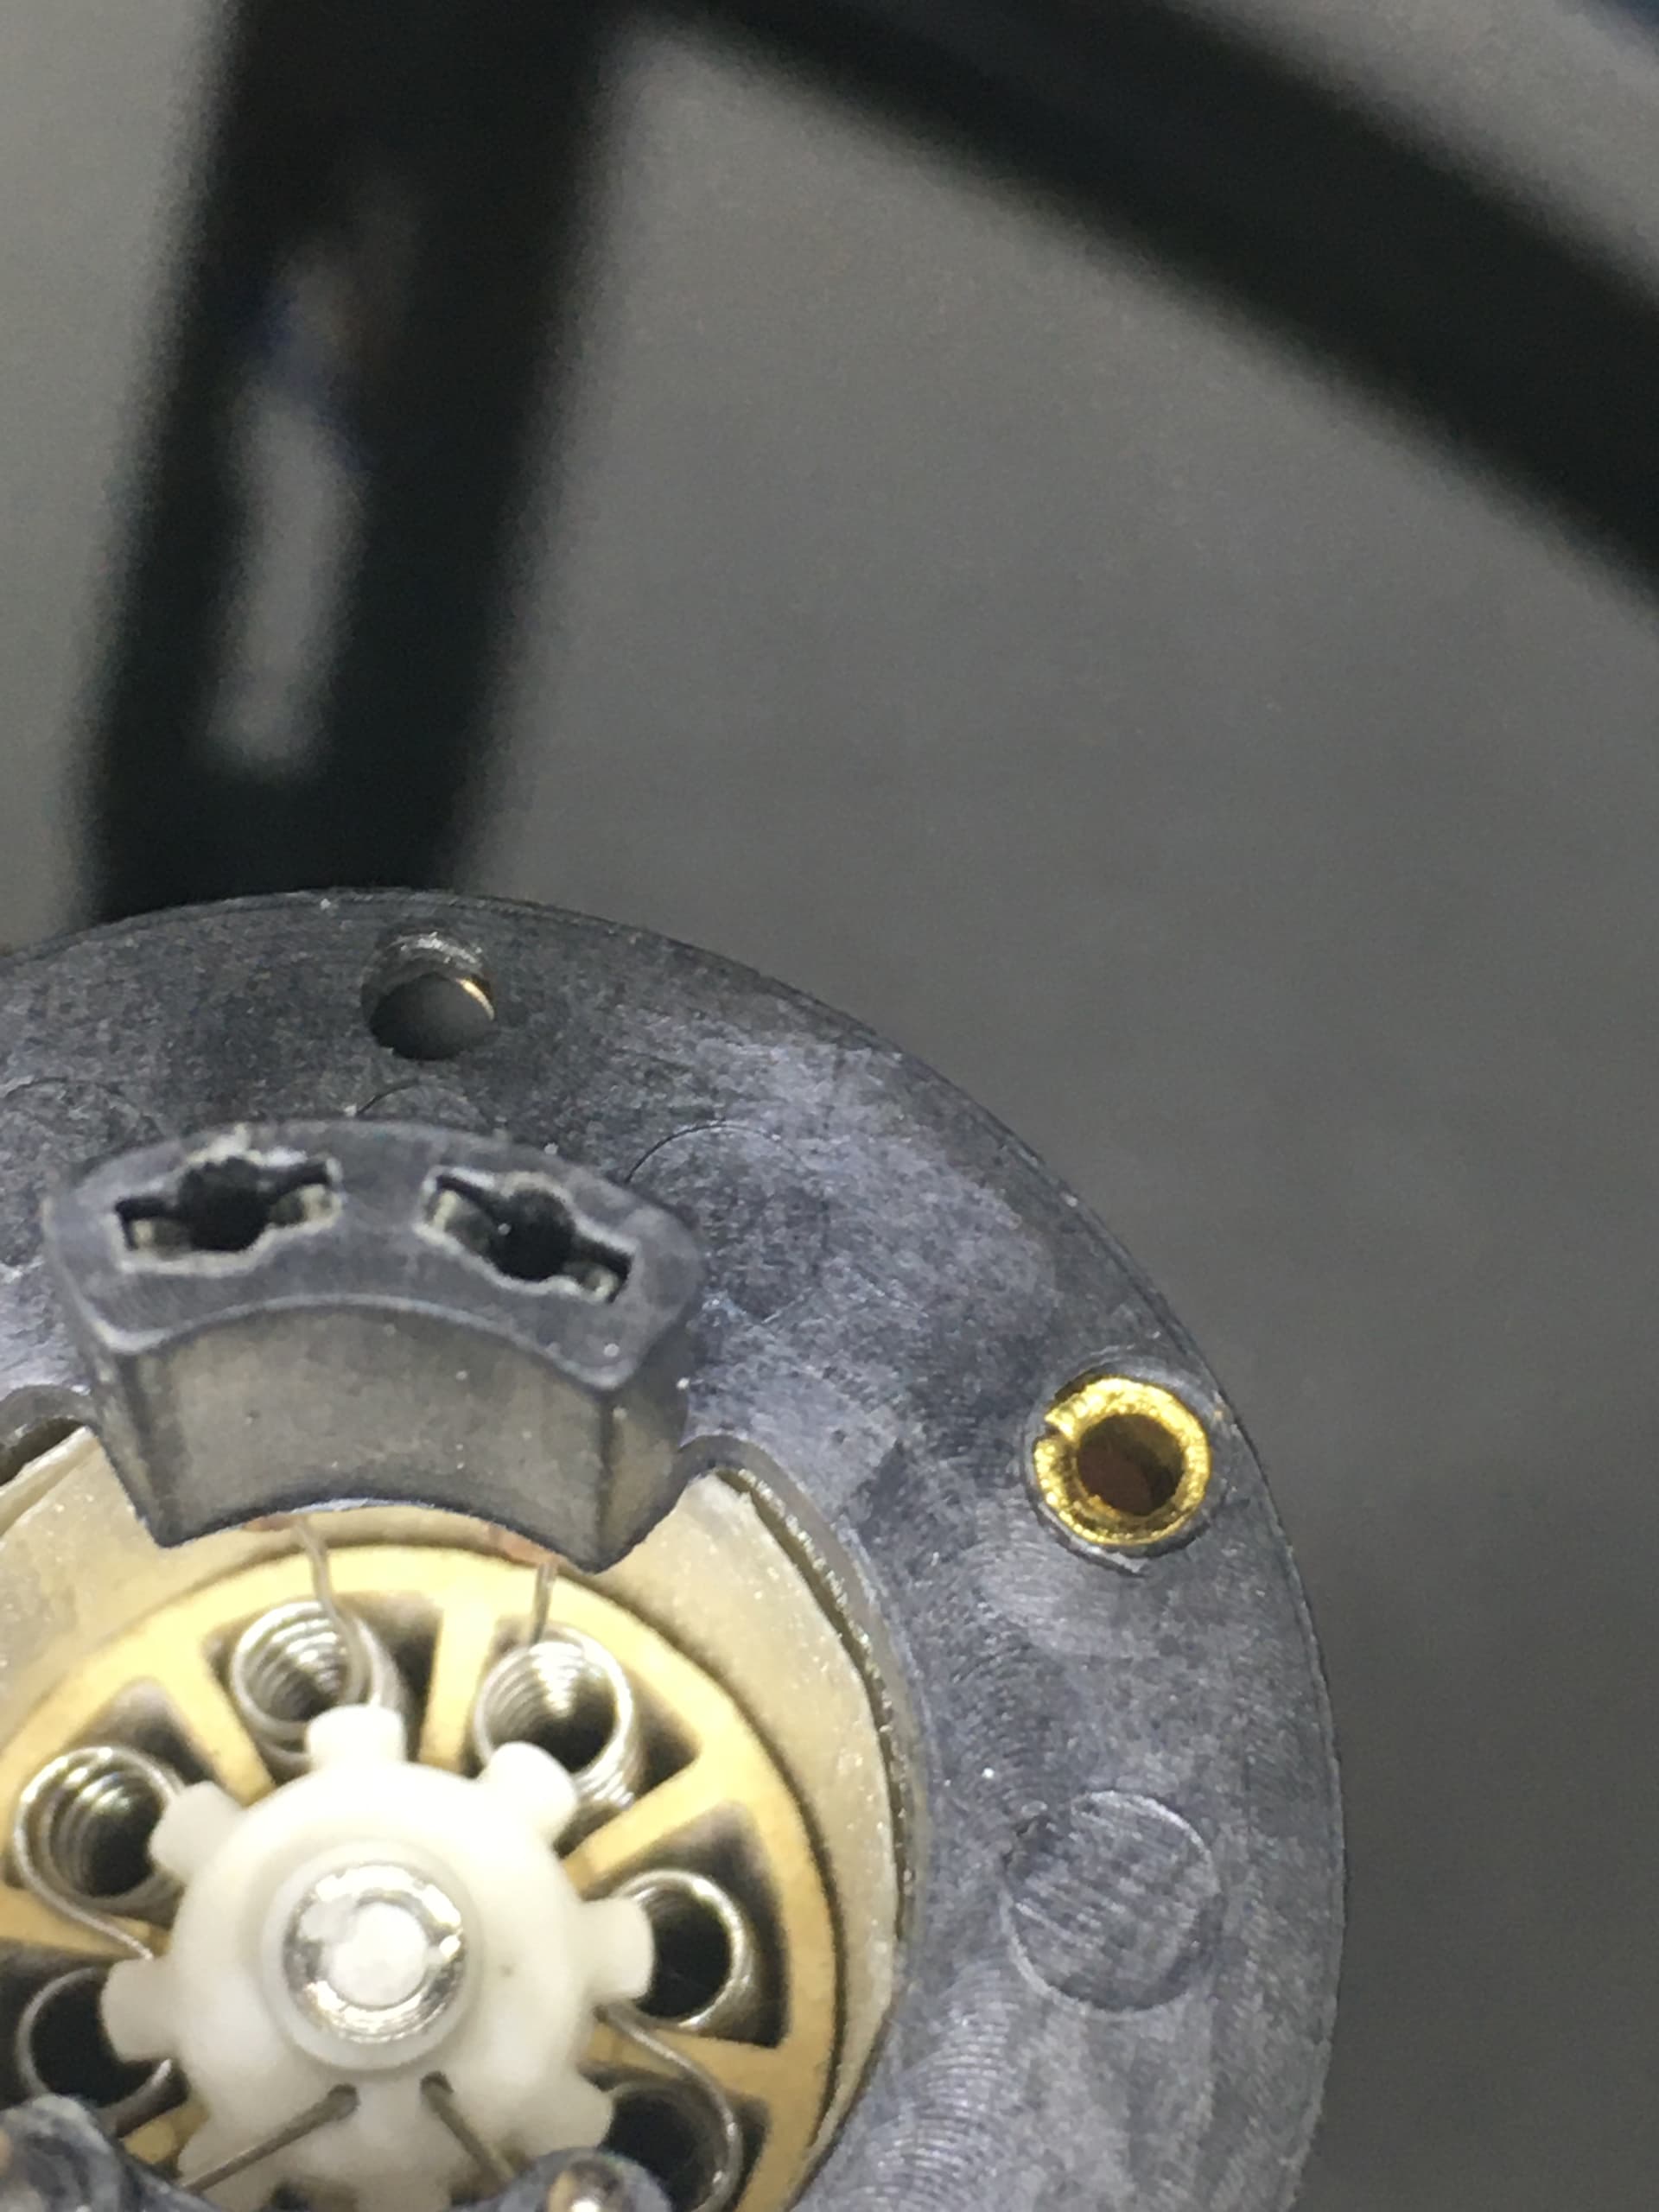
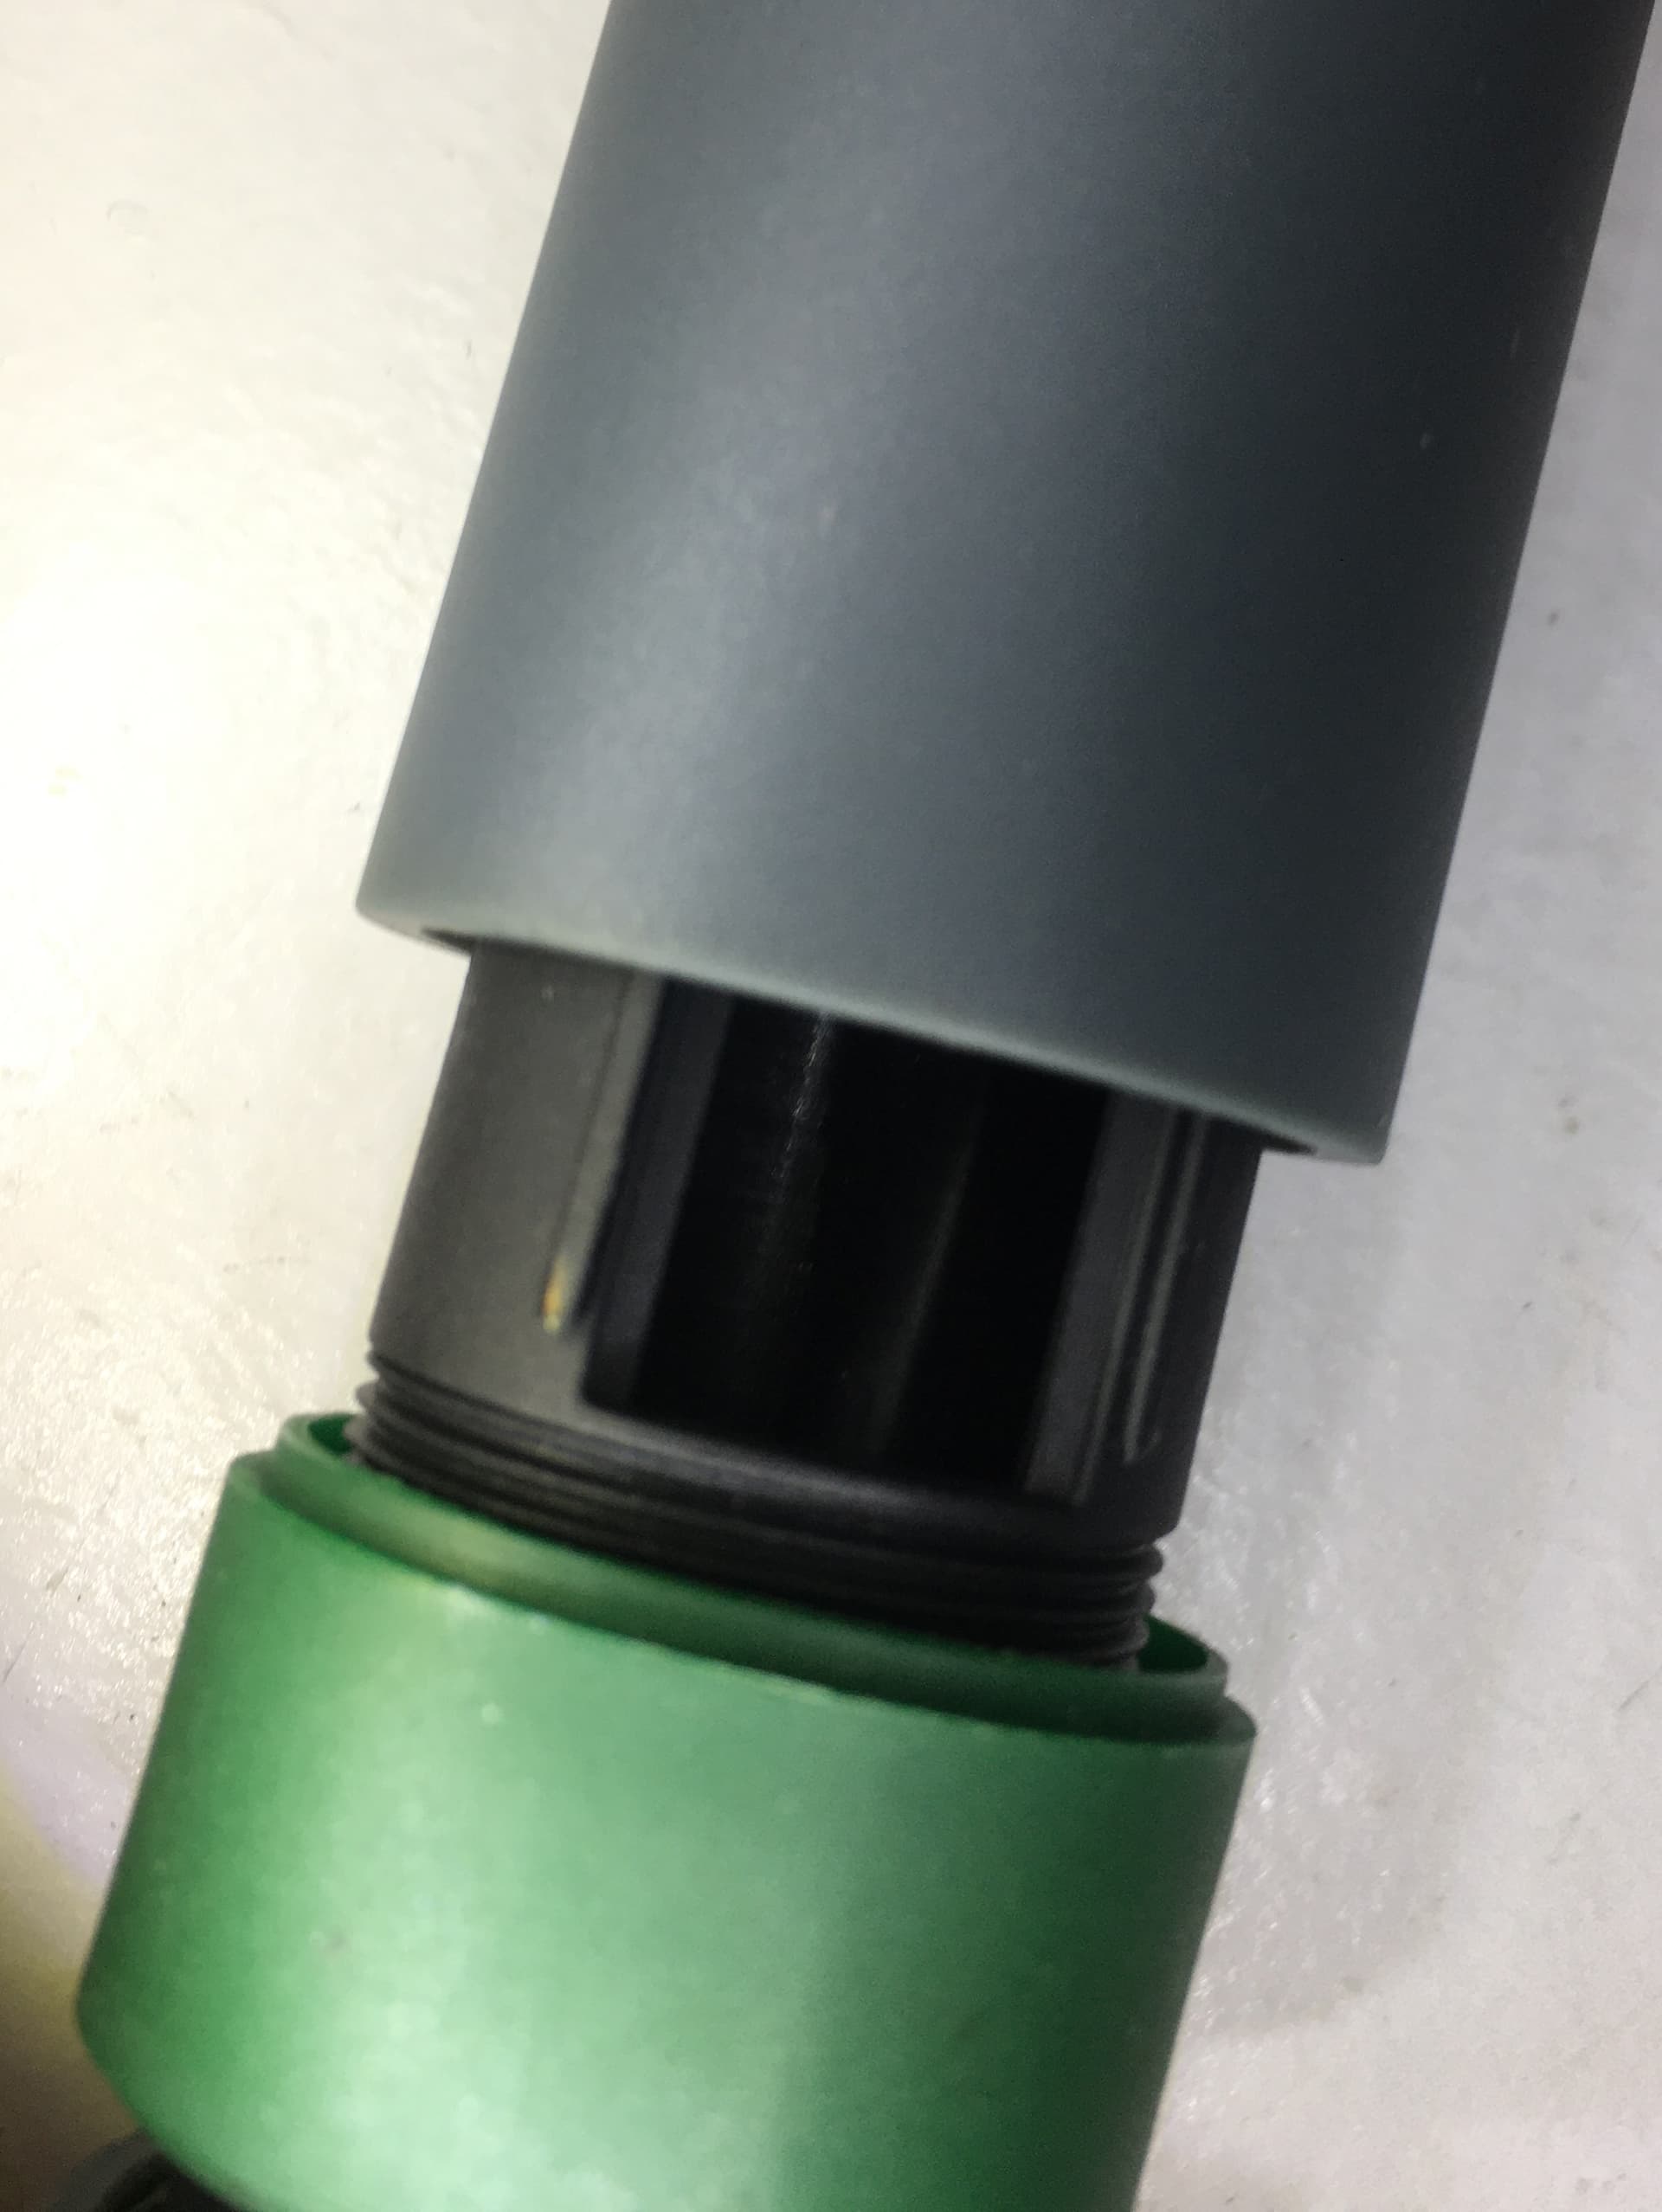
The bottom section of the handle is simply relying on compression pressure to create a [two] seal [from one thread] this explains why I can feel a minute amount of air loss here, there is no o-rings nothing (though those seams suggest they might be there for that purpose so might be worth adding them)
Sorry I didn’t get a clear look but would imagine you’d want to look at the element rating to determine, which will likely point you to a reed switch with a rating of 250V and > 5A
In mine, a reed switch spare was part of the box
Oh I just had a thought, those copper rings slipping over the crimped contacts are almost certainly to reduce the resistance of what would otherwise be just “high” resistance nichrome wire (and a bit of the crimp contact section) without them the lead in would also get hot, so this is to stop that
I didn’t see the thermal fuse when I opened it, am I blind or is it hidden somewhere? or is the reed switch serving double duty?
the reed switch is this component that is used to detect the placement of the handle in the stand right ? If yes, it looks like a simple switch, probably made of 2 different metal. I had one spare in a plastic bag in my box.
Right, just a magnetic switch basically and in these high current situations typically in a fuse like package. I saw one in there and just assumed it was the reed switch but maybe it’s serving as the fuse also.
I don’t think I got a spare in my box ![]() can you take a snap of your one?
can you take a snap of your one?
@eneR in regards to the ratings I am making the assumption that reed switch is inline with the live or neutral wire (I’d be surprised if it wasn’t) but that would be the basis for my ratings above.

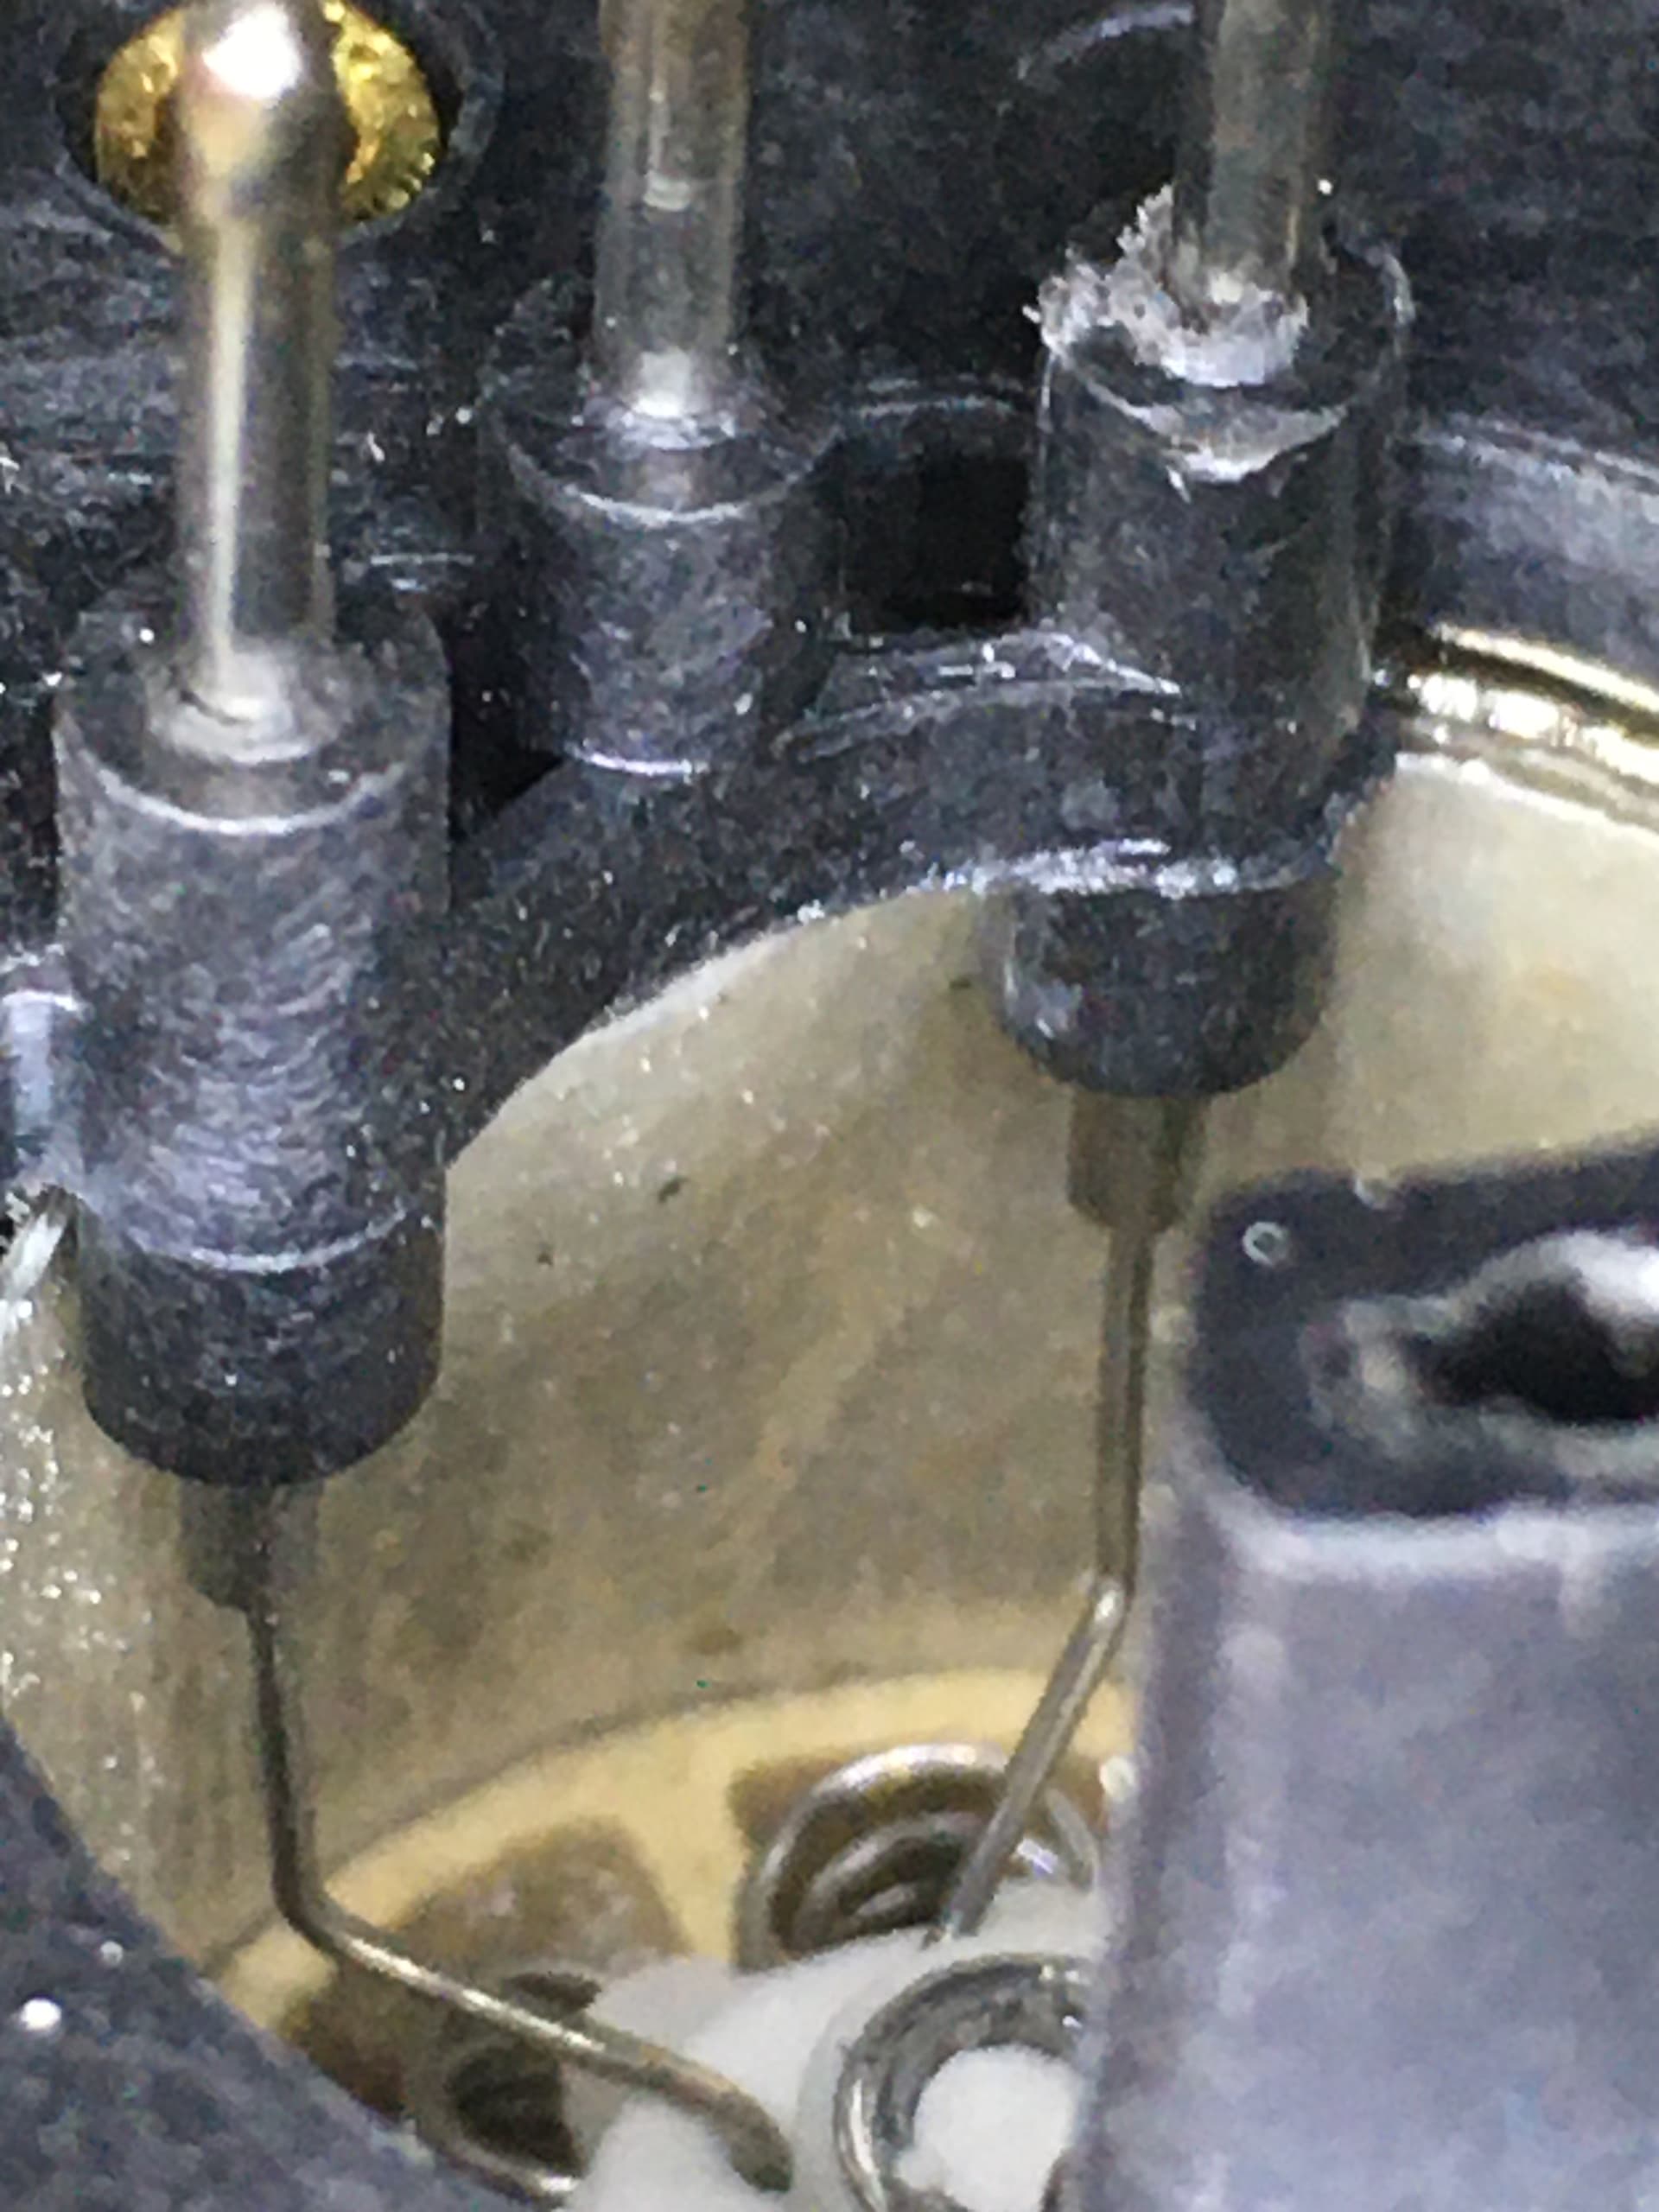
Thanks, so that isn’t what I was looking at (I’m blind it seems ![]() because I couldn’t see the reed switch in the handle… atleast on quick inspection) , what I was looking at was the thermal fuse
because I couldn’t see the reed switch in the handle… atleast on quick inspection) , what I was looking at was the thermal fuse
Yep, i had to buy them, those aren’t part of the box as spare. The thermal fuse look more like a old style resistor, but all metallic i would say. I can’t make a picture, they are in my daughter’s room and she is sleeping.
So bit of an update,
The mod board showed up yesterday, I got the kit version which is just super simple through hole stuff, I would really lke the option to get a bare board with blank MCU etc The kit is really self explanatory and you don’t need instructions, you can probably build and install this kit in under an hour.
The pot knobs are fast but incredibly tactile and precise and tbh I can’t see myself even bothering setting and using the preset keys now as a result. The pulsing of the fan is gone, the annoying beep is gone and replaced with a nice and quieter one, the horrible PWM squeal when switching the mains switch is gone
All in all this mod board is great and more than worth the money but I have a couple of nitpicks with it. You can no longer set the minimum temperature below 100C, I will change this myself in code but I’ll get in touch with the dev as this change ought to be global as it’s incredibly handy to be able to cool stuff down, particularly if you use a thermal cam or just in the course of general diagnostics. The airflow indicator on the display shows a degree symbol after it’s readout until regulation of the setpoint is reached, I understand why he’s doing this but I personally don’t like it. While the pulsing has gone there is an audible difference/tone when changing the set temp and it is not linear (which I’d expect) across the range and can change from setting 290 to 300C and it’s very noticeable… I’m not really sure what’s causing this but I’ll ask the dev or see if the code sheds some light on this.
Apart from those few minor complaits though this modification is a must and the addition of those knobs imo completely blows any competing station out of the water in terms of use and functionality 
1 Like
Looks good, thanks for the feedback. i think i will take it as well once i am sure the unit is running stable after my repair. I worked with it yesterday, overall all ok so far.
Did you got it from Tindie in the end ?
Good stuff
Yeah and he was super helpful and it arrived really quick, he even ahem marked the actual value on the customs declaration after asking ![]()
One thing I should mention, in his instuction video he shows cutting the 2.54mm pin headers for the display, which is what I did but in hindsight I would desolder them with wick or gun as it puts a lots of strain on the joints for the LCD board and the time it took to clean up the pin headers it would have actually just been quicker to desolder them anyway