Aliexpress, I ordered them before you warned me against it.
I could tell, my iron wasn’t hot enough. Actually to be accurate: my iron tip wasn’t big enough, so it wasn’t transmitting enough heat.
I’m slightly disappointed, as I thought it was a clean job, but obviously, the joints are not shiny.
Chipquik flux bought on Amazon. So far, pretty satisfying: easy to clean, easy to use.
I see trouble is this IC (and the fuel gauge) is just a shot in the dark based on the suspected likely impact damage. It might well be this IC is/was never to blame (it could really be any other IC incl the SoC but that particular Max IC was the most primary candidate), trouble now is were doubting the IC due to it’s origin. Did you happen to get a look at the balls on this IC before setting it down? one potential reason the joints might not look good is if the seller has reballed them as I’ve seen photos from others here from IC’s from China which either use junk solder or they aren’t even properly reballed.
I’ve not used the stuff myself but you will have to experiment reballing on some scrap boards using leaded solder and see if you can produce nice shiny looking joints on BGA style IC’s using this flux - just incase that’s the reason for the dullness in your photos above
Don’t be, it takes practice you’ll get better as time moves on. Practice on some other scrap boards, even if you don’t have stencils and paste just start pulling some chips off on the scrap boards then work on tinning the pads with leaded solder and try and wick said pads after (using your hot air if needed) - while bigger tips help, you can do just as good a job even with small tips using the tricks I mentioned. After, (and you’d never do this on a board meant for repair but just for practice) try tinning the scrap board pads then the IC pads and place the IC down, reflow, inspect your joints
Hey everyone,
I finally received what I needed for Switch #2 (and also work’s been crazy, so sadly not a lot of time to practice my repair skills), and I gave it a go today.
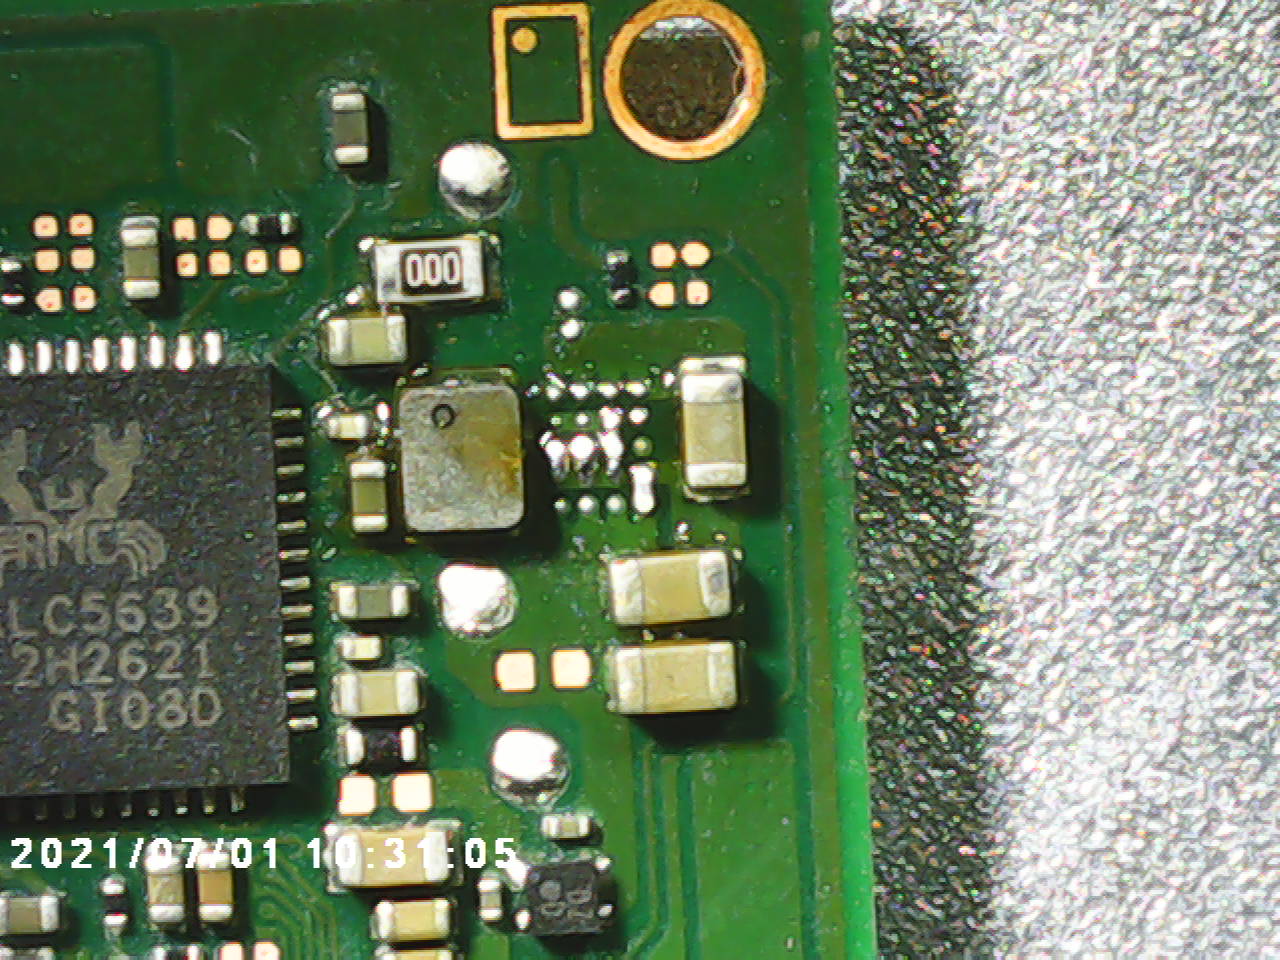
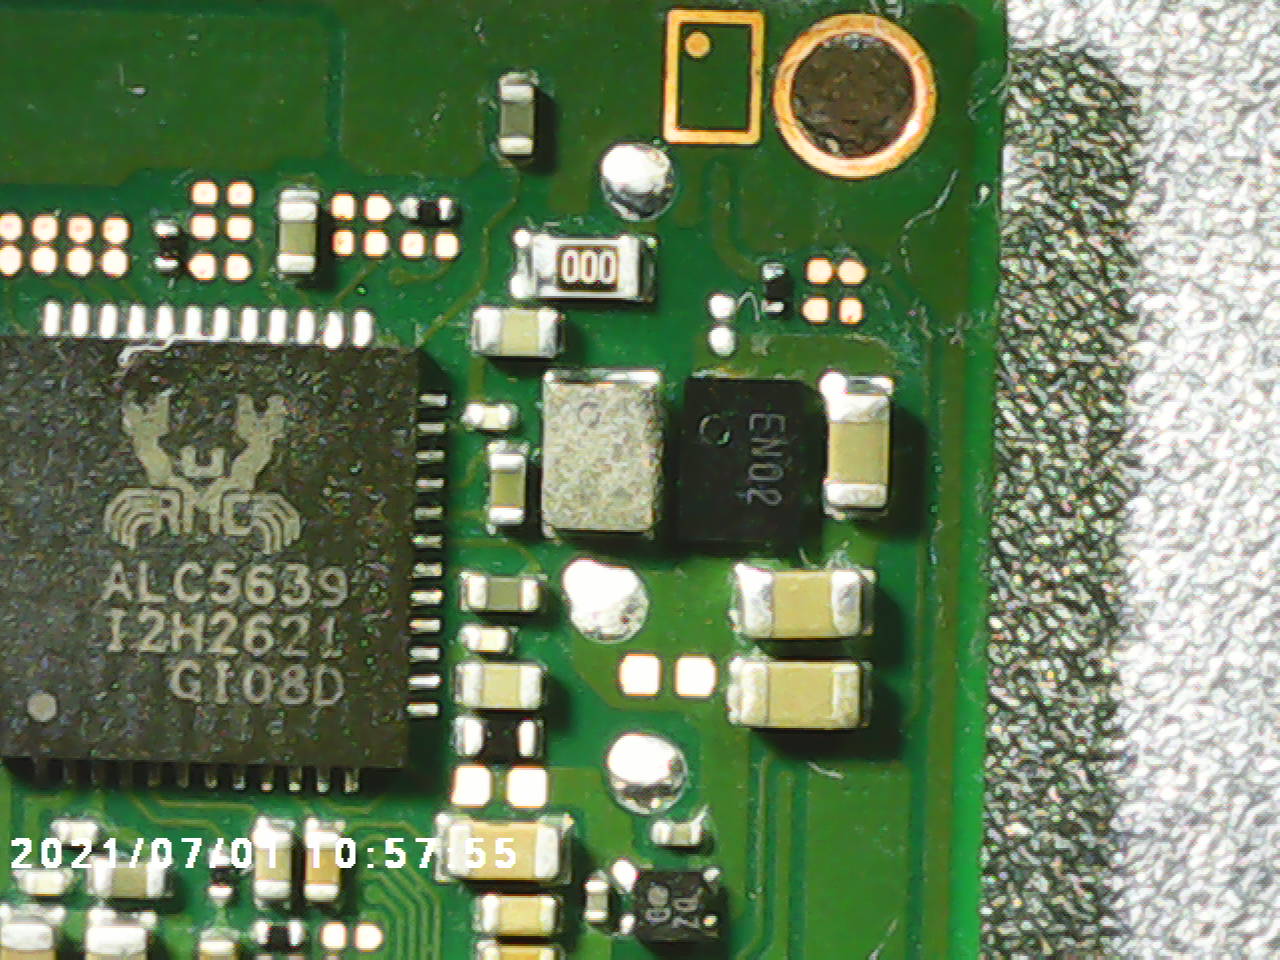
As a reminder, the EN chip was bad (or badly soldered), which resulted in the coil on the left shorting to ground.
Looking at the picture now, it’s pretty obvious the EN chip had been tinned instead of reballed, based on the quantity of solder (as predicted by your psychic powers again, @Severence !)
Wicked it clean, soldered a new one (easy peasy!), and… the switch is booting up again, yay!
M92 had been changed already, so I’m a bit lost on what to do next.
Regarding switch #1, I changed the fuel gauge with a new preballed one, but behavior remains the same. Not sure about my soldering on that one though.
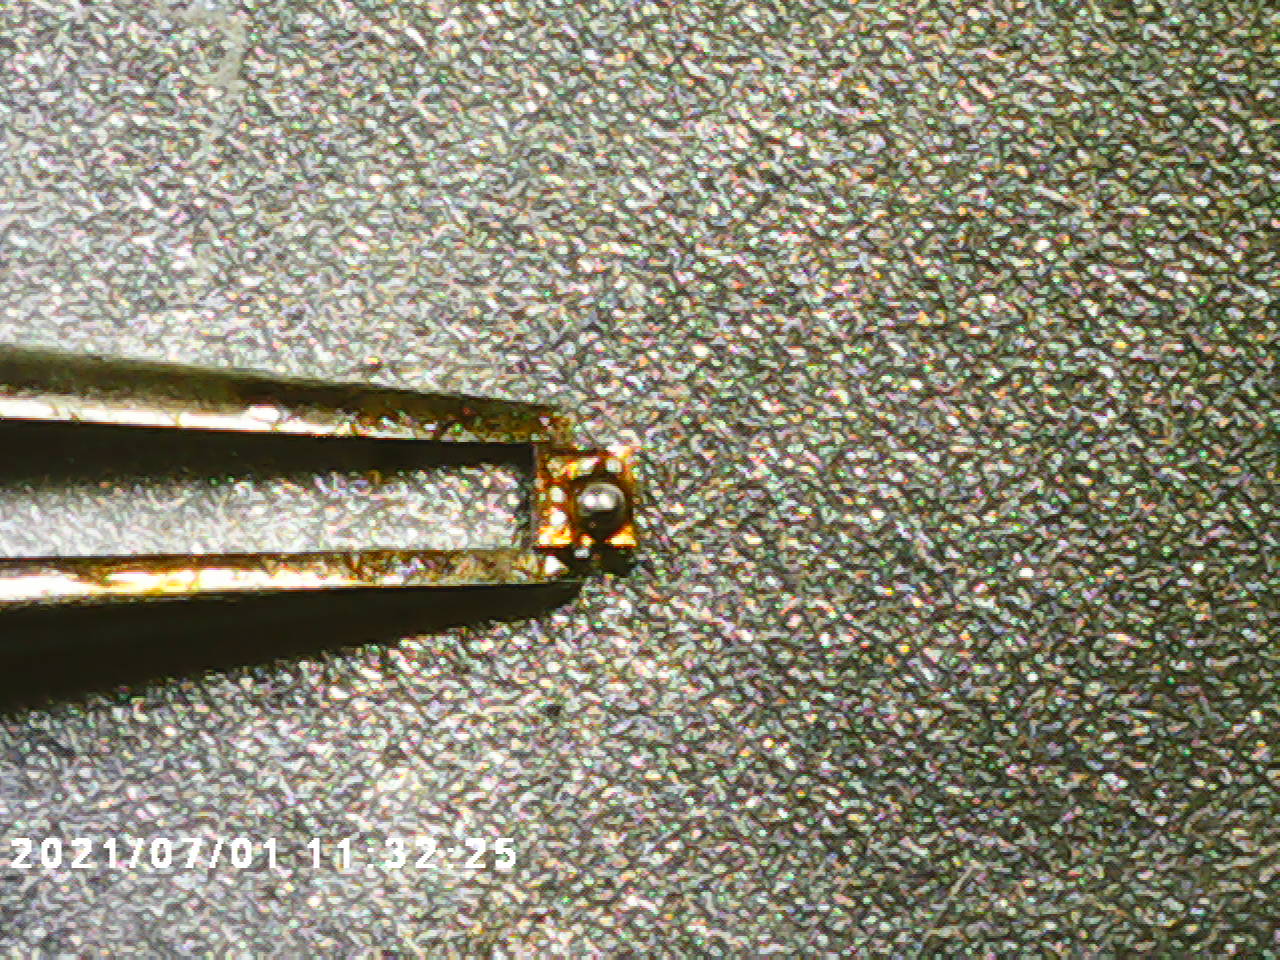
For learning purposes, I tried reballing the old fuel gauge with 0.3mm solder balls I got from our infamous chinese website. It all went well until all the balls decided to merge together
I’d probably try another M92 just to rule out damage to the previous one prior. Check the reviews wherever your buying (and make sure they’re legit) there was a glut of fake ones at one point. If still no dice we’ll drill down deeper on this
I think whats happened here is not simply the balls joining together but rather I think you’ve stripped the “mask” (the kapton like enamel) which means your soldering iron was too hot these styles of ICs are far more sensitive to this than regular encased IC’s
Could well be - you can verify with your meter in continuity and check corresponding lines up to the slightly raised “pads” around the M92 IC
No the error would remain. While it’s not exclusive to the M92 I2C [corresponding] lines/pads this does seem to be the most usual cause for the error. Though as I say, this error is not exclusive to this IC or exclusively as a result of those I2C lines being open or closed at the M92 or anywhere else.
I too suck at soldering QFN’s. The best thing you can do for yourself regarding them is ensuring that all the pads have a proper amount of solder on them from the get go, and that you don’t flood the middle ground pad with too much solder. As with everything else in this hobby things become easier the more you practice.
Glad you got one of em running, it always feels good especially when its taken you a while to get there
I don’t think you need to change the fuel gauge again unless something went terribly wrong during the install or the IC is damaged (they are fragile) or because you think they are are used / poorly reballed as we talked about earlier.
I’d have another very close look at this board examining all ICs and edge on like what you did on Switch #2 - feel free to post pics if you want me to take a look.
I can’t see the issue being the main PMIC at this stage but in all honesty it could be… or anny number of other IC’s in impact damage scenarios.
One thing, which you may have already mentioned, did you try putting mild pressure on SoC and ram while prompting to boot to see if theres any change? It migh also be worth making sure the EMMC is good on this switch by dumping it’s contents elsewhere - this can done on an unpatched board (though be careful about not burning the update fuses) or by dumping on PC using low voltage EMMC adapter or a homemade SD card adapter
It’s not doing anything, still stuck in 1st stage boot.
Mine is a patched Mariko
So I’ve just started researching how it all works. From my understanding, some of those readers can only access user related partitions, while others (and more expensive ones) can also read the boot partitions. I suppose I need the latter?
Before I do that, what’s bugging me it the fact that it’s detected by TegraRCM as an RCM device, and it has a QR code on the Nand. I’m probably wrong, but none of the other motherboards I saw online (or on Switch #2) had one. Is it because it’s an aftermarket one, and therefore not paired to this device? In which case, trying to fix it is pretty pointless, isn’t it?
Right so you won’t be able to dump the boot 0/1 parititions without more specialised tools (mmcblk) but it doesn’t matter… these partitions are largely unimportant (as donor partitions can be made and used) and we are just looking to test that the EMMC is working so dumping the other partitions is fine for this. Also mmcblk is pretty much terrible anyway in terms of design and functionality soooo there’s that too
Nope completely normal to have them though it’s a coin toss which boards do and don’t have the stickers
No, that’s switch number 1, the one with the missing 1.35V rail. I’m still waiting for my EMMC reader to arrive, to be able to rule that out - or find that it was faulty from the beginning. It should be there in a couple of days.
Also, Switch #2 (the one that was fixed) couldn’t get passed the installation process because the left joycon wouldn’t be recognized. So I took the rail out and noticed it was slightly different from the right one (more wear marks), but more importantly, the ribbon was ripped beyond repair.
So I tried the other joycon rail from the other Switch, and it wouldn’t work either… because it was completely corroded, to a point where copper had been completely eaten away. Never mind, I thought, they’re cheap, let’s get new ones.
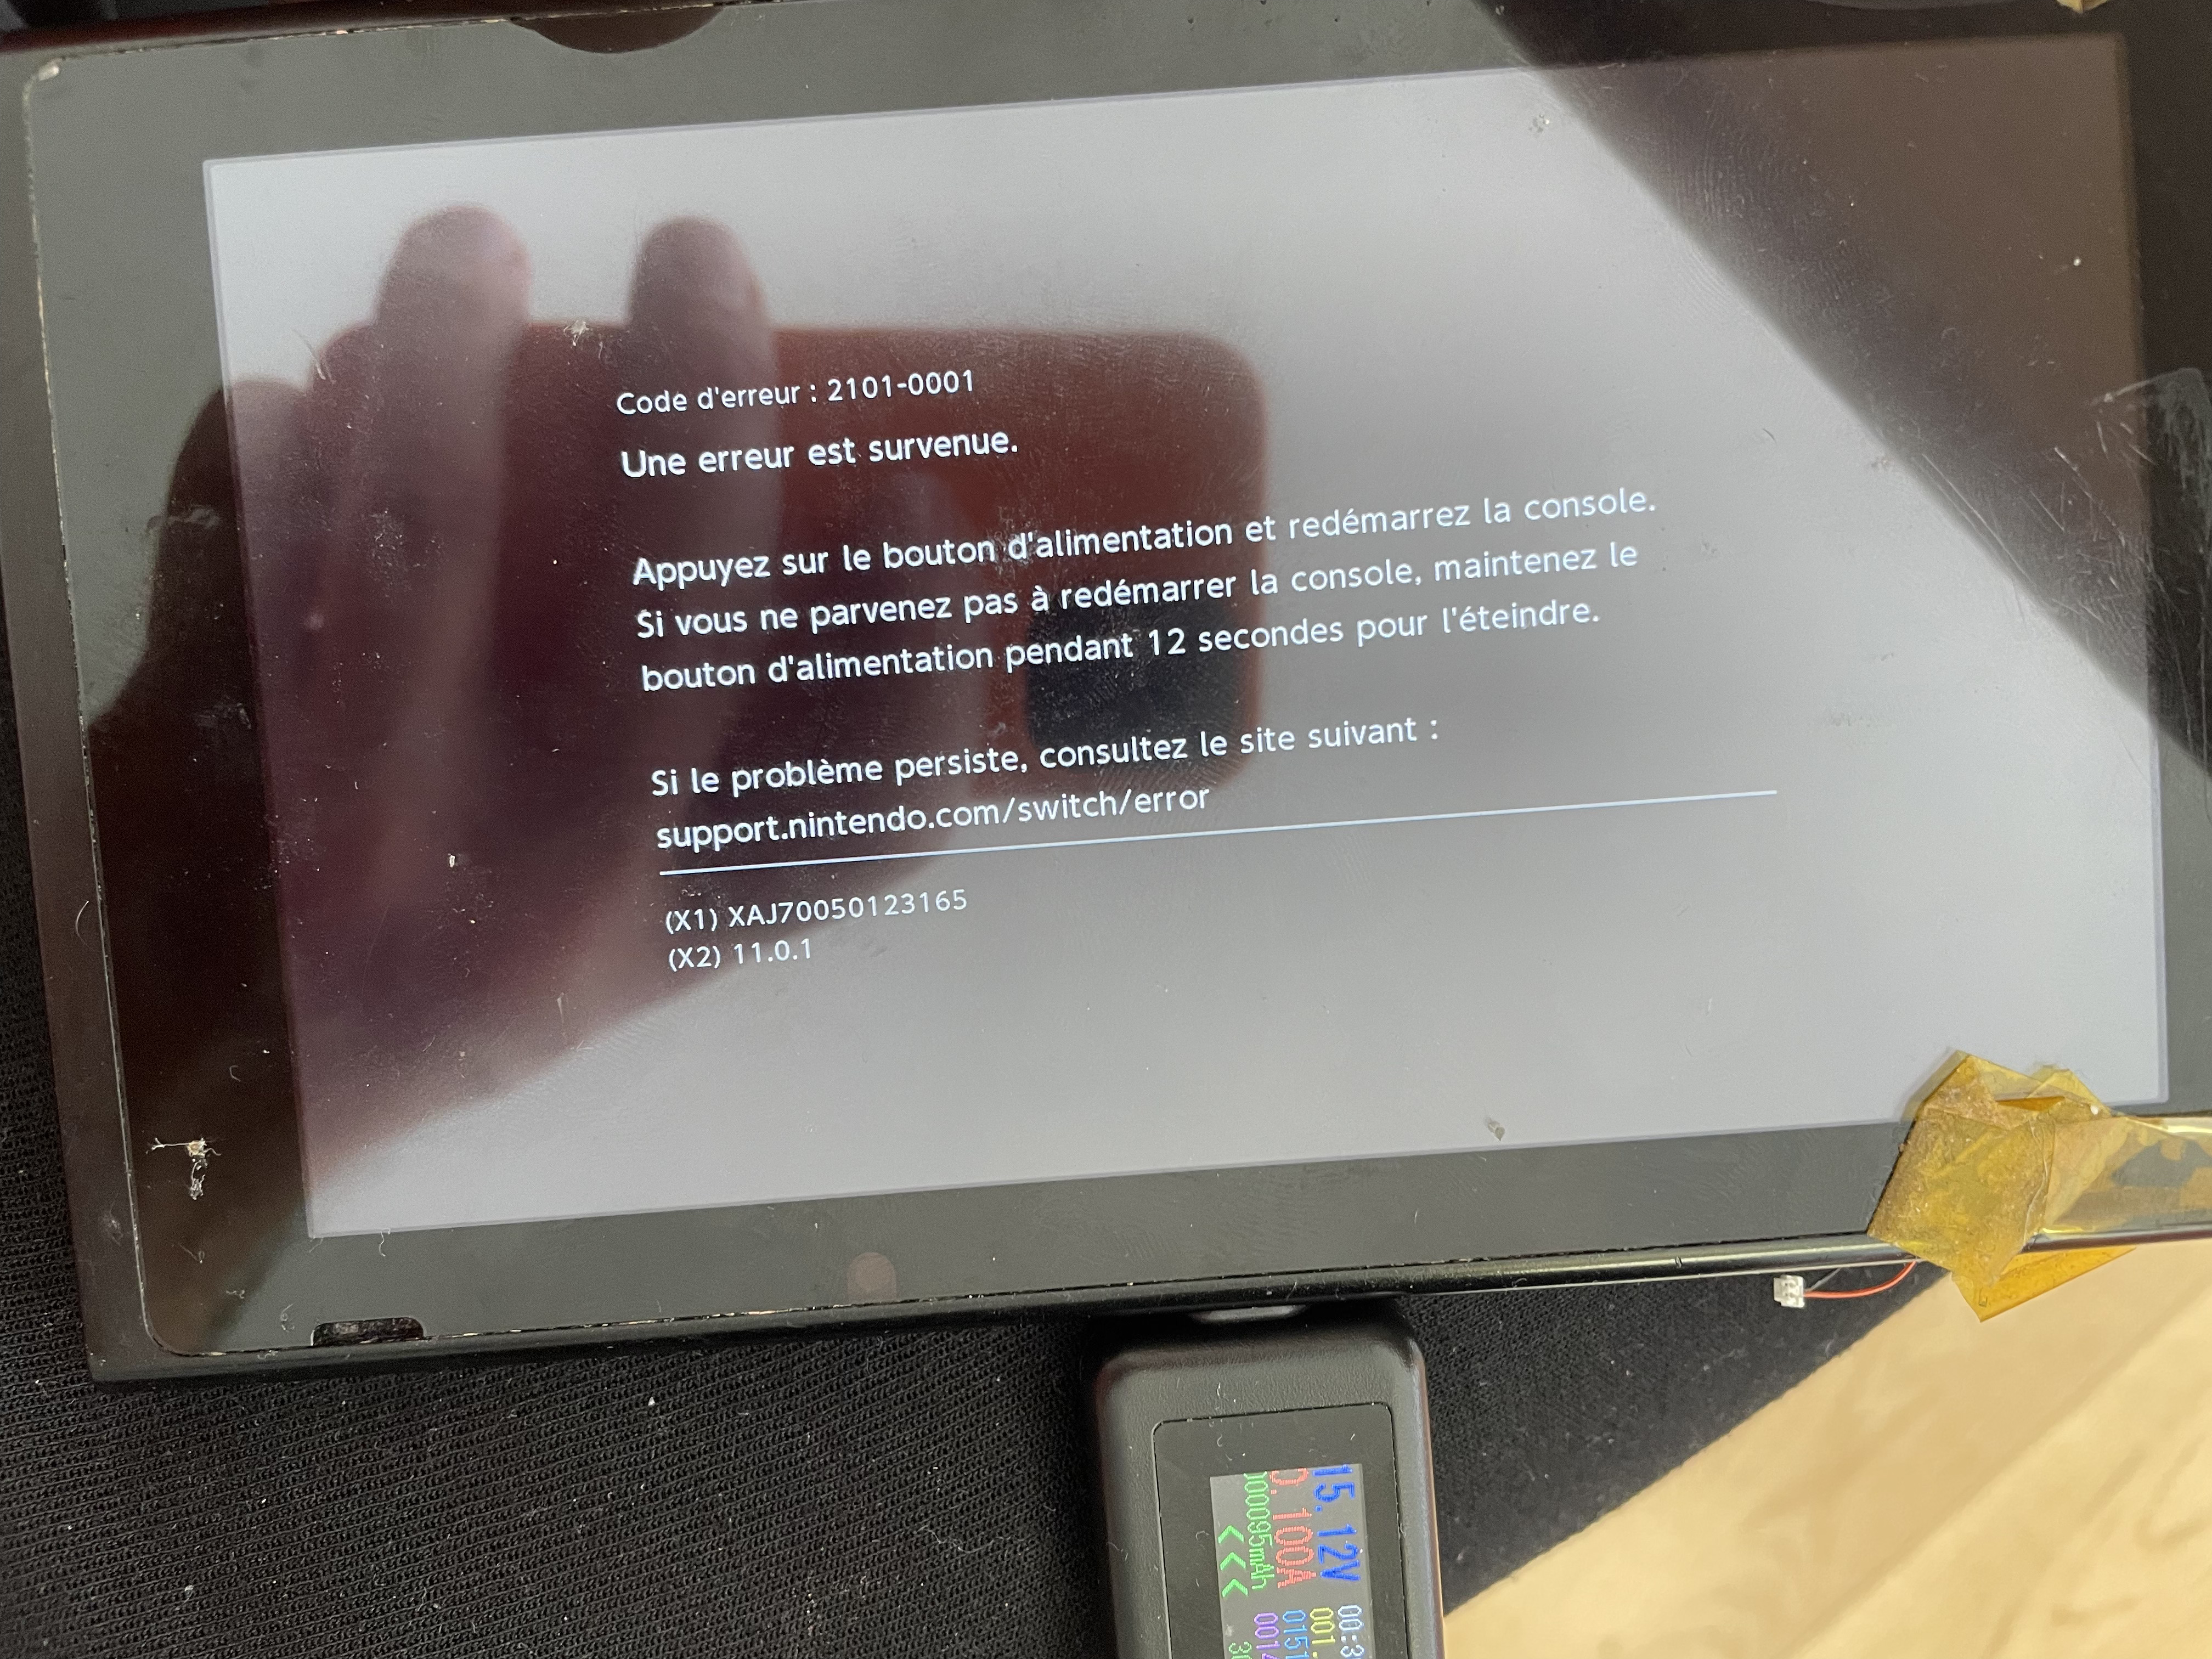
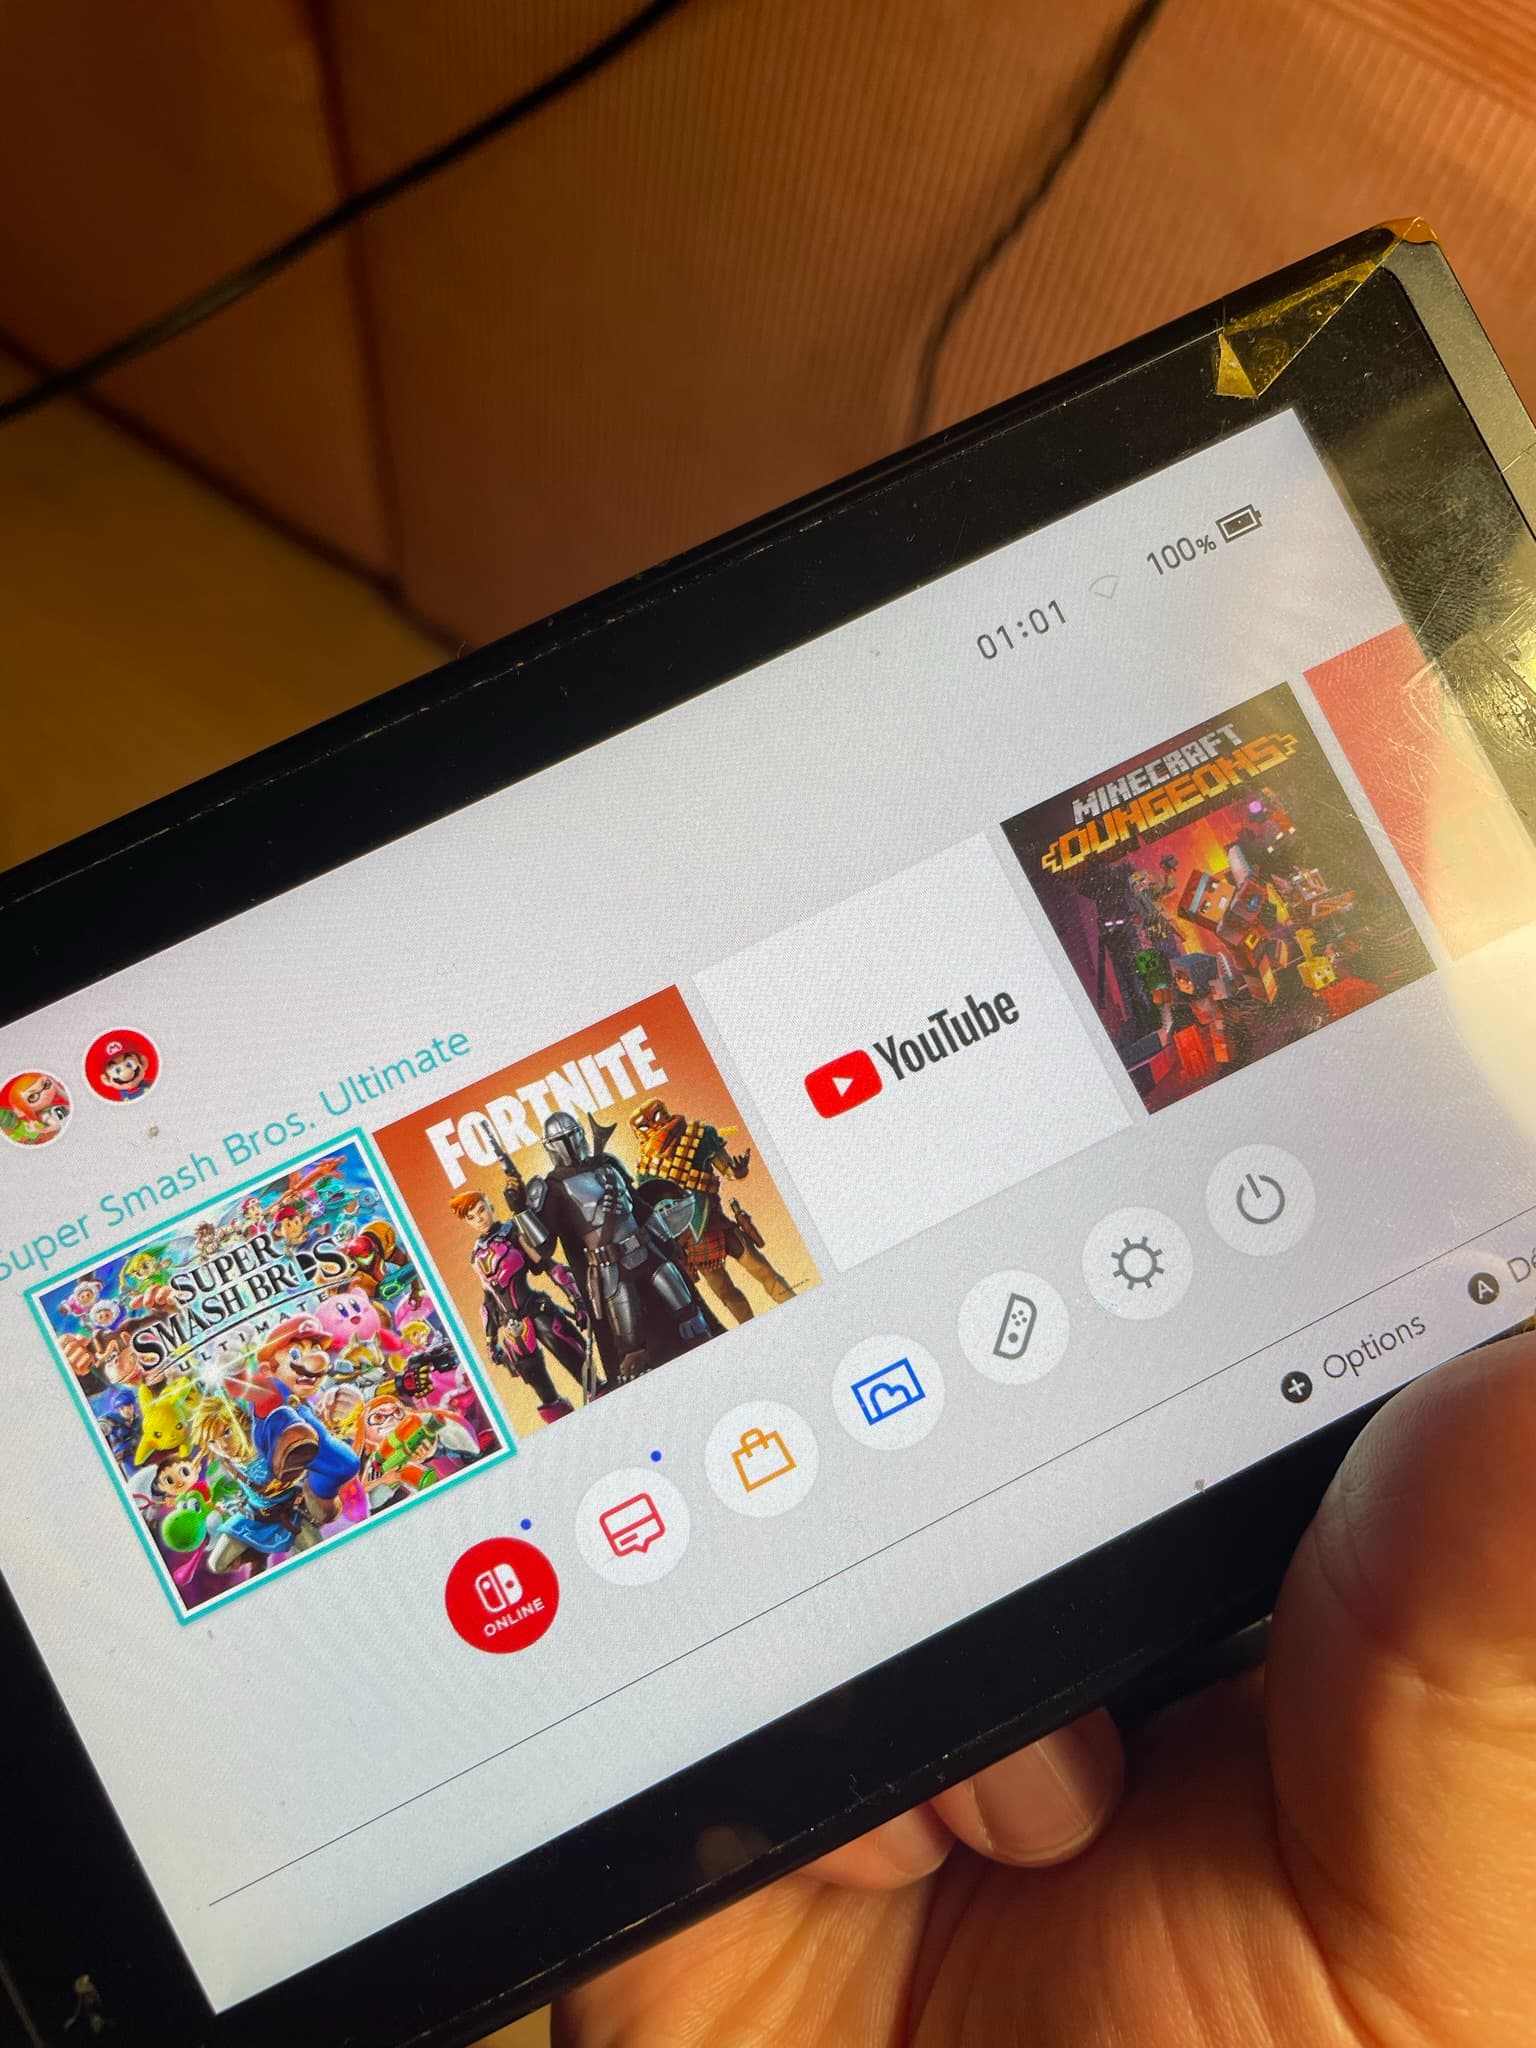
I finally got the parts tonight… but the Switch is now stuck on the Switch logo! I tried going into maintenance mode, and it reads a 2134-0501 error. I’m pretty sure that’s M92 related, isn’t it?
I don’t recall ever having the error myself but as far as I can see online all resolutions seem to revolve around the M92 IC (though that hopeless Switch repair wiki mentions the main PMIC and fuel gauge…)
But, given that this problem only exhibited itself after you connected up a corroded connector it would suggest that this was the cause of this new fault (assuming not a coincidence) so perhaps that has killed something - sorry I’ve done very little in tracing out the joycon related circuit (and what it has or hasn;t got in common with the M92 IC if at all) so can’t help much in this regard but you might want to see if the symptoms change with both ribbons disconnected (just incase something jammed in the connectors - which you’ll want to check for) and then after also checking the M92 IC for shorts and the like again.
I’d also take a very close look at the joycons (assuming they came with this switch) as if the rails were correded the joycons themselves will likely will have corrosion on the pins too.
Of course and I’m sure you have been. Make sure to disconnect the battery prior to any of this.
Just found this which seems to confirm my thinking - i think
Don’t understand German, but from the visuals, same error, same corroded joycon pins (likely as the initial cause) - presumably killing the M92 IC (somehow).
So yeah, after going over what i mentioned earlier failing that, I’d swap out the M92 IC again and then make sure your new joycon rails pins and contacts all look good prior to hooking up power again
At first I thought « not again », given the previous trauma. But I need practice, and it went pretty smoothly this time! As it turns out, the key to not having components flying everywhere is… to not blow crazy air flow at them… you were right again. I’m using a much reduced air speed now.
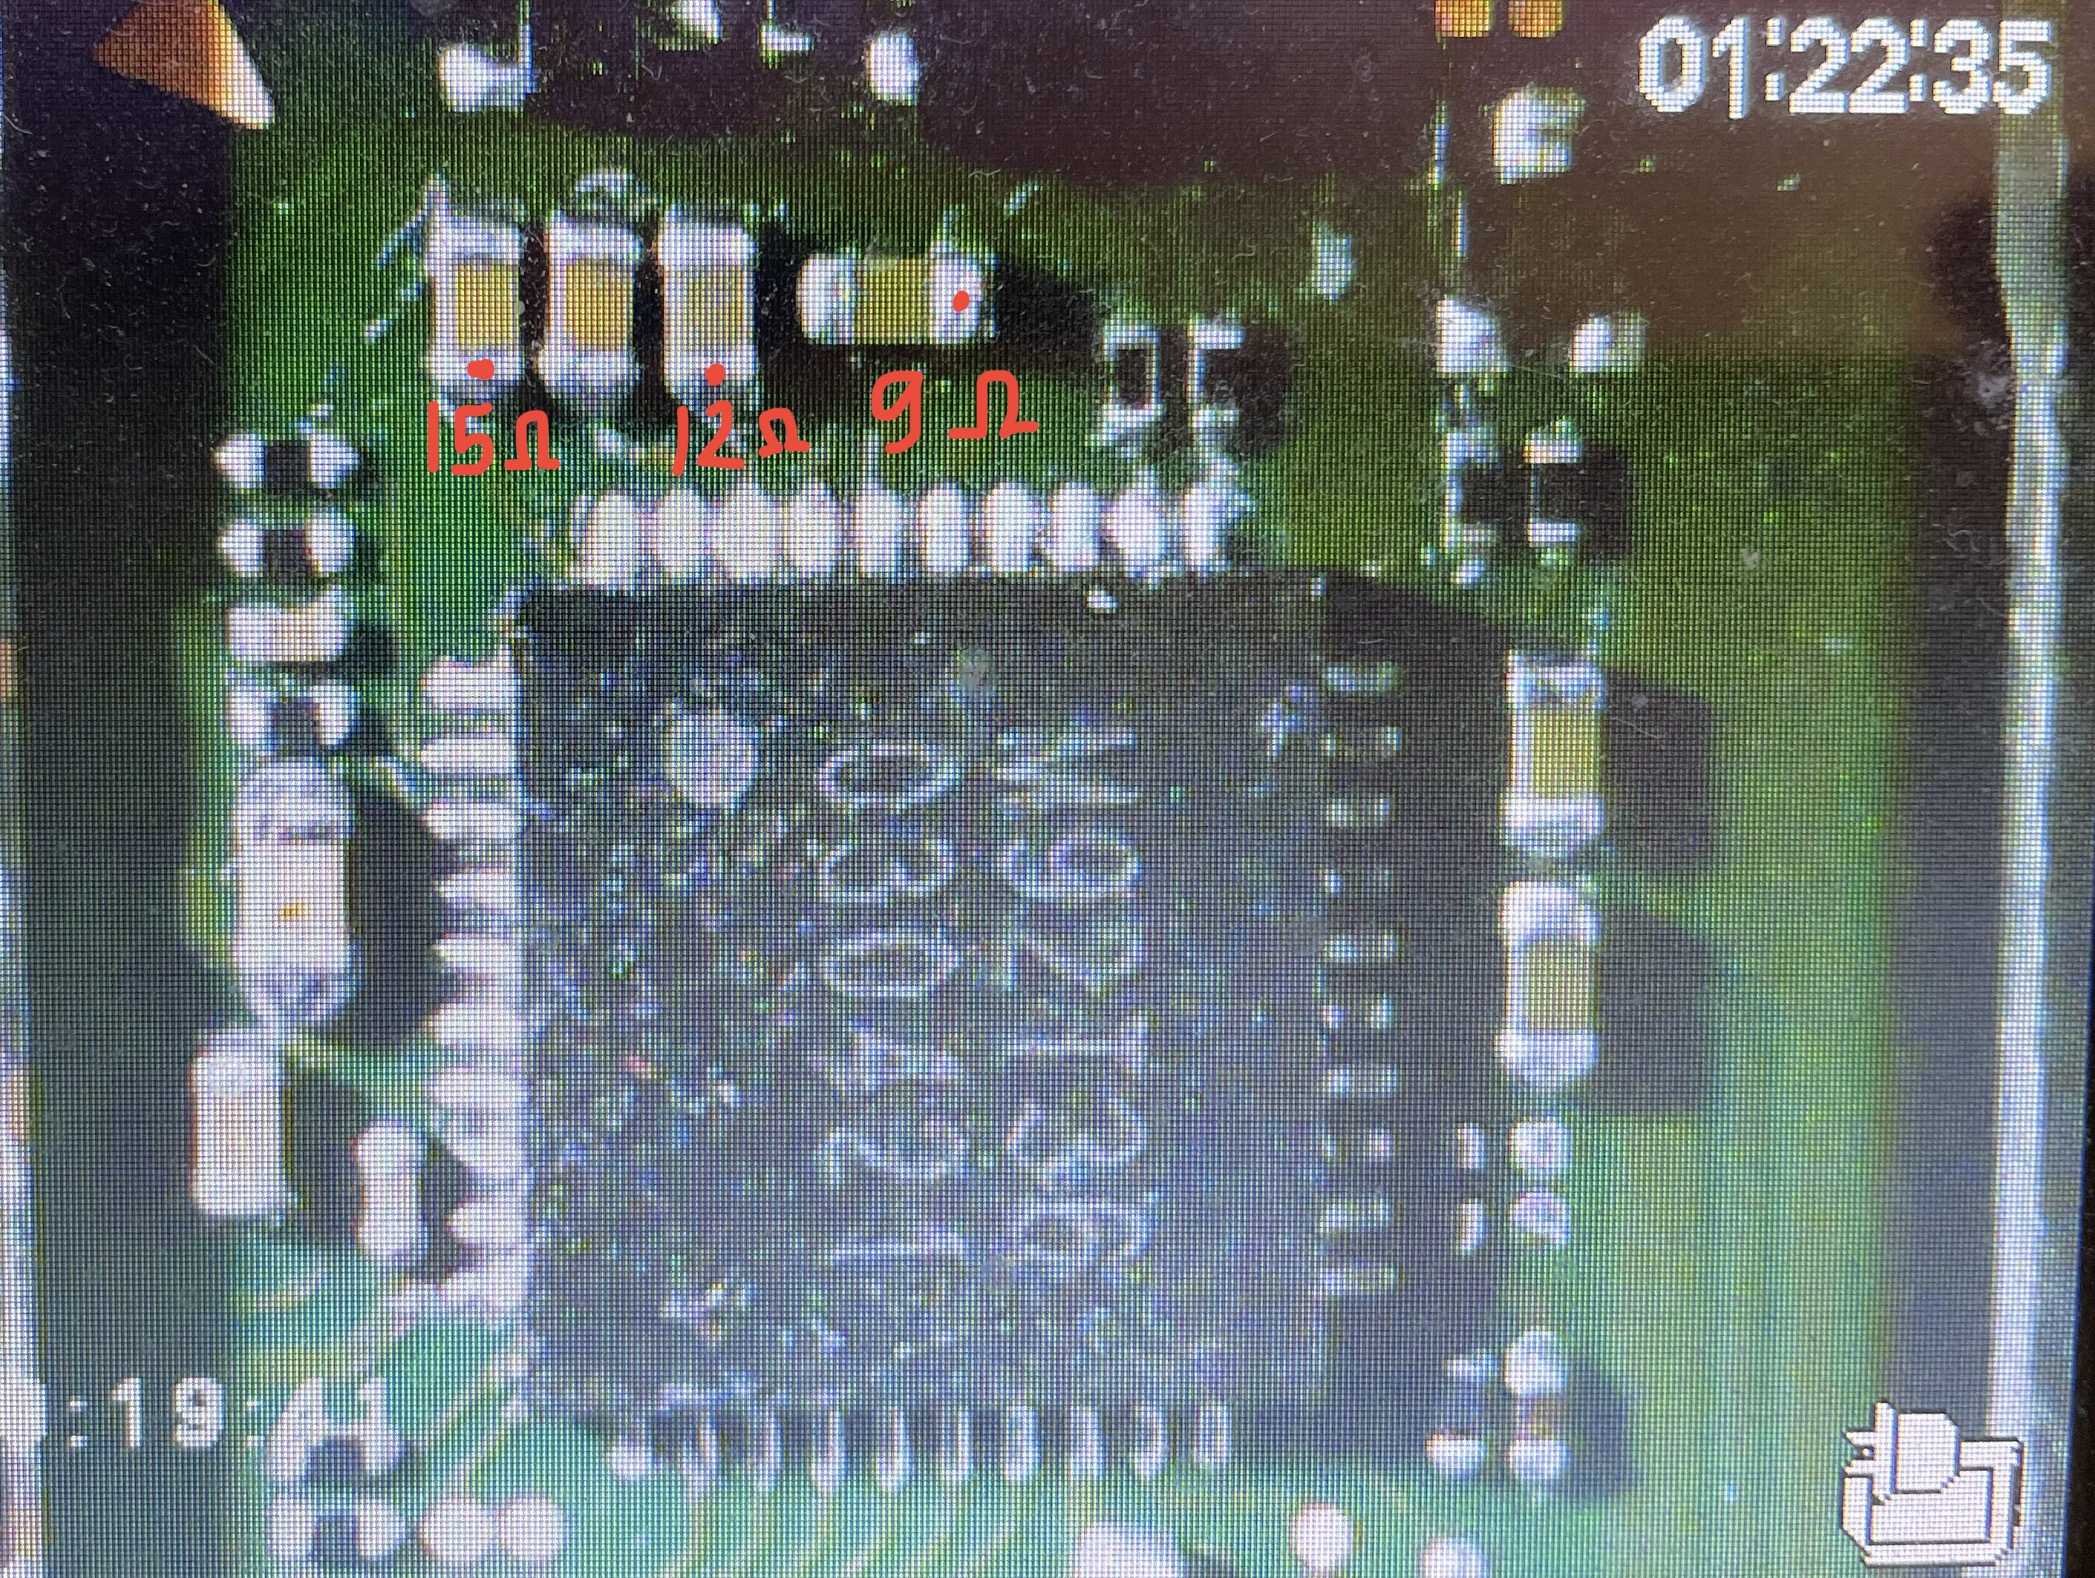
Anyway, since all the pins were looking good, I turned the switch on. Now I get 2101-001. Since I’m now forming this mental model you’ve mentioned, I went back to M92 and took some readings. Some are wrong I think.
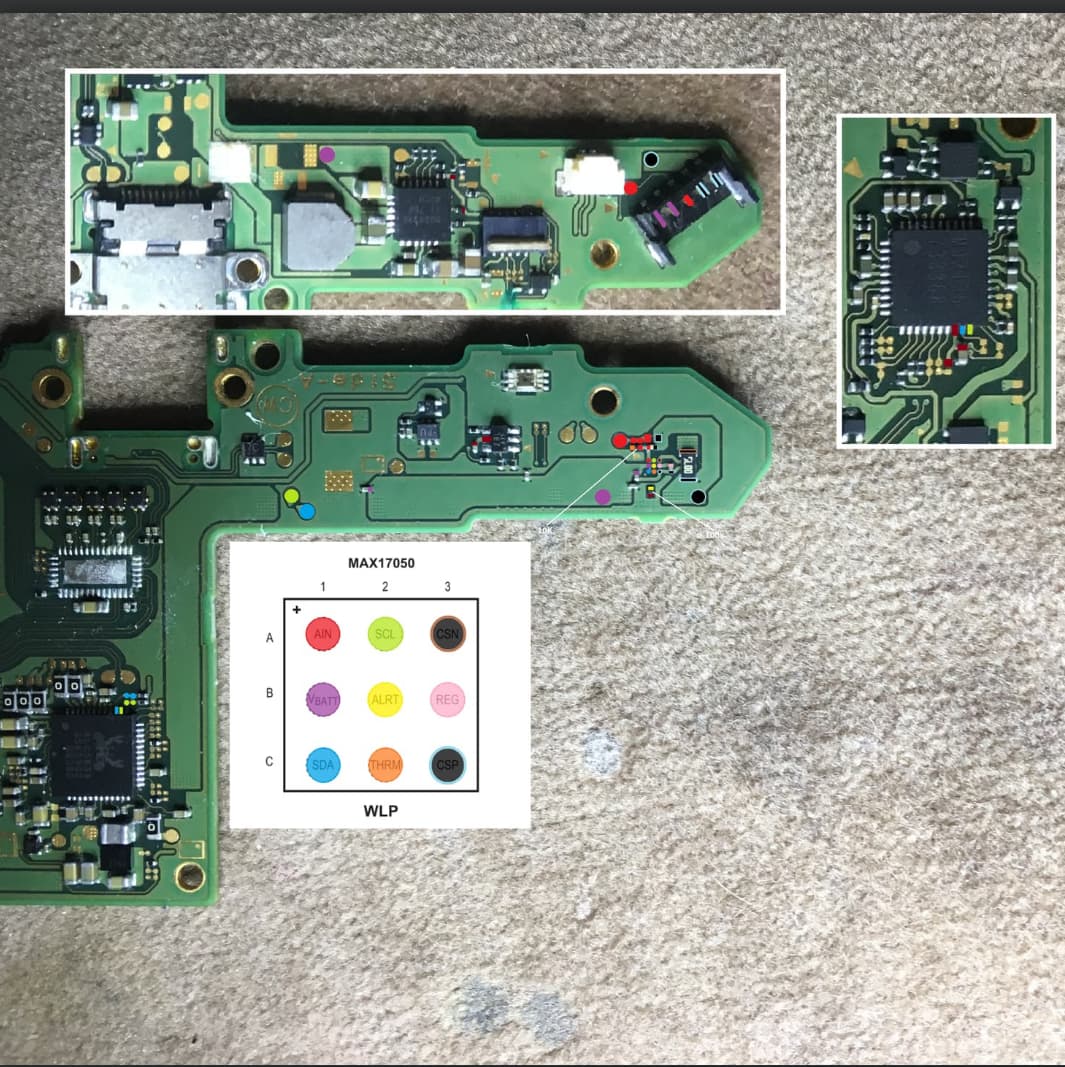
2100-001 is generally an I2C error. Take a look at the following diagram, on the rear side of the battery connector (same side as the fuel gauge) there are two TP’s (one for SDA and SCL). If you look at the M92 image you can see where these pads SHOULD buzz out too. Also, if you notice on the SDA pin of M92 it leads to two small unpopulated pads. In between those two pads is a small trace. Verify you have continuity through both pads to the pad on M92. Also verify you have enough solder and a good connection for both these pins on M92.
Good news is that this error means you’re almost getting to the homescreen, so once you solve it you SHOULD be in the clear and have a functional console again
Yeah not right. I’d retrace your steps and lift the M92 IC and see if these shorts clear. Bit hard to tell but your M92 IC is possibly slightly a skew (though could just be your cameras angle) which may be the cause, if lifting the IC resolves the shorts, try reinstalling the IC again and after check again for those shorts and if not present still do a thorough inspection of the IC edge on looking at all pins. if those same shorts are present upon reinstall then it suggests the IC is bad.
Unlikely to be the caps. Crackles and smoking is probably indicating your running your hot air too hot I’d guess.
Yeah maybe, though didn’t the other one work initiatially? presumably from the same seller?
As they typically work or don’t, unless you got really unlucky and the seller was selling a mixture
I’d just check that those shorts clear after removal before jumping to conclusions just yet it might well be fake but best to rule it out first (then get a refund on aliexpress once proved )