Nope it looks fine, as long as the chip got to a reflow state and self located and you didn’t push it down or anything mid way etc then it should be fine
I’m not sure why? for two reasons, why did you take the second pass in the first place? and how did the resistors come to be knocked off? I think a lot of times (and I’ve seen this from a number of youtubers also) people feel the need to touch or nudge - and while this can sometimes serve as confirmation in some cases (that your in a reflow state for example) it not needed as you can make the same determination with your eyes
Most likely, though I’ve had cases where I’ve had chips in the same or worse condition and I’m like “how are you still working” either way and as I mentioned earlier, just replace it as they’re cheap… even if it somehow works it will fail later on or cause an element of doubt.
I’d pull the chip, clean the pads, clean the excess solder off the passives and make everything clean and tidy, ensure you have the resistors in the correct location based on their value (I don’t know them off the top of my head) and then after install a new IC - no touchy
Trouble we’ve got here is, for sure the previous damage to the fuel gauge initially was for sure what was causing the BSOD, but since the SoC has been cooked prior it throws up an element of doubt as to whether that’s now a secondary issue, hard to say. After you’ve reinstalled the fuel gauge, you can try putting slight downward prssure on the Ram while prompting the console to boot and see if the symptoms change though I don’t imagine it will
Ugh, Idk why honestly. I doubted myself that I did it right and wasn’t sure if it “reflowed” . Just lack of experience I’d say and impatience.
The SoC being fried could cause a BSOD? I would imagine it would just not turn on or anything.
It was a capacitor that I pulled off, not a resistor, sorry I got the two mixed up in my head. Brown is a cap, black is a resistor. I knocked a brown one off. It’s back on properly and not shorted, so thankfully nothing serious there too.
And you’re 100% right about that nudge from YouTube videos, I laughed when you mentioned it.
So I haven’t had the chance to use the microscope for work, it’s too far away from my work station and I have to move things around to get everything to fit. I’m definitely considering buying the trinoculor microscope though, I want the quality and the better hand eye coordination. I realized with this lcd, as nice and as clear as it is, it can get a bit tricky. Wish I had the money to have both at the same time and see which I like more.
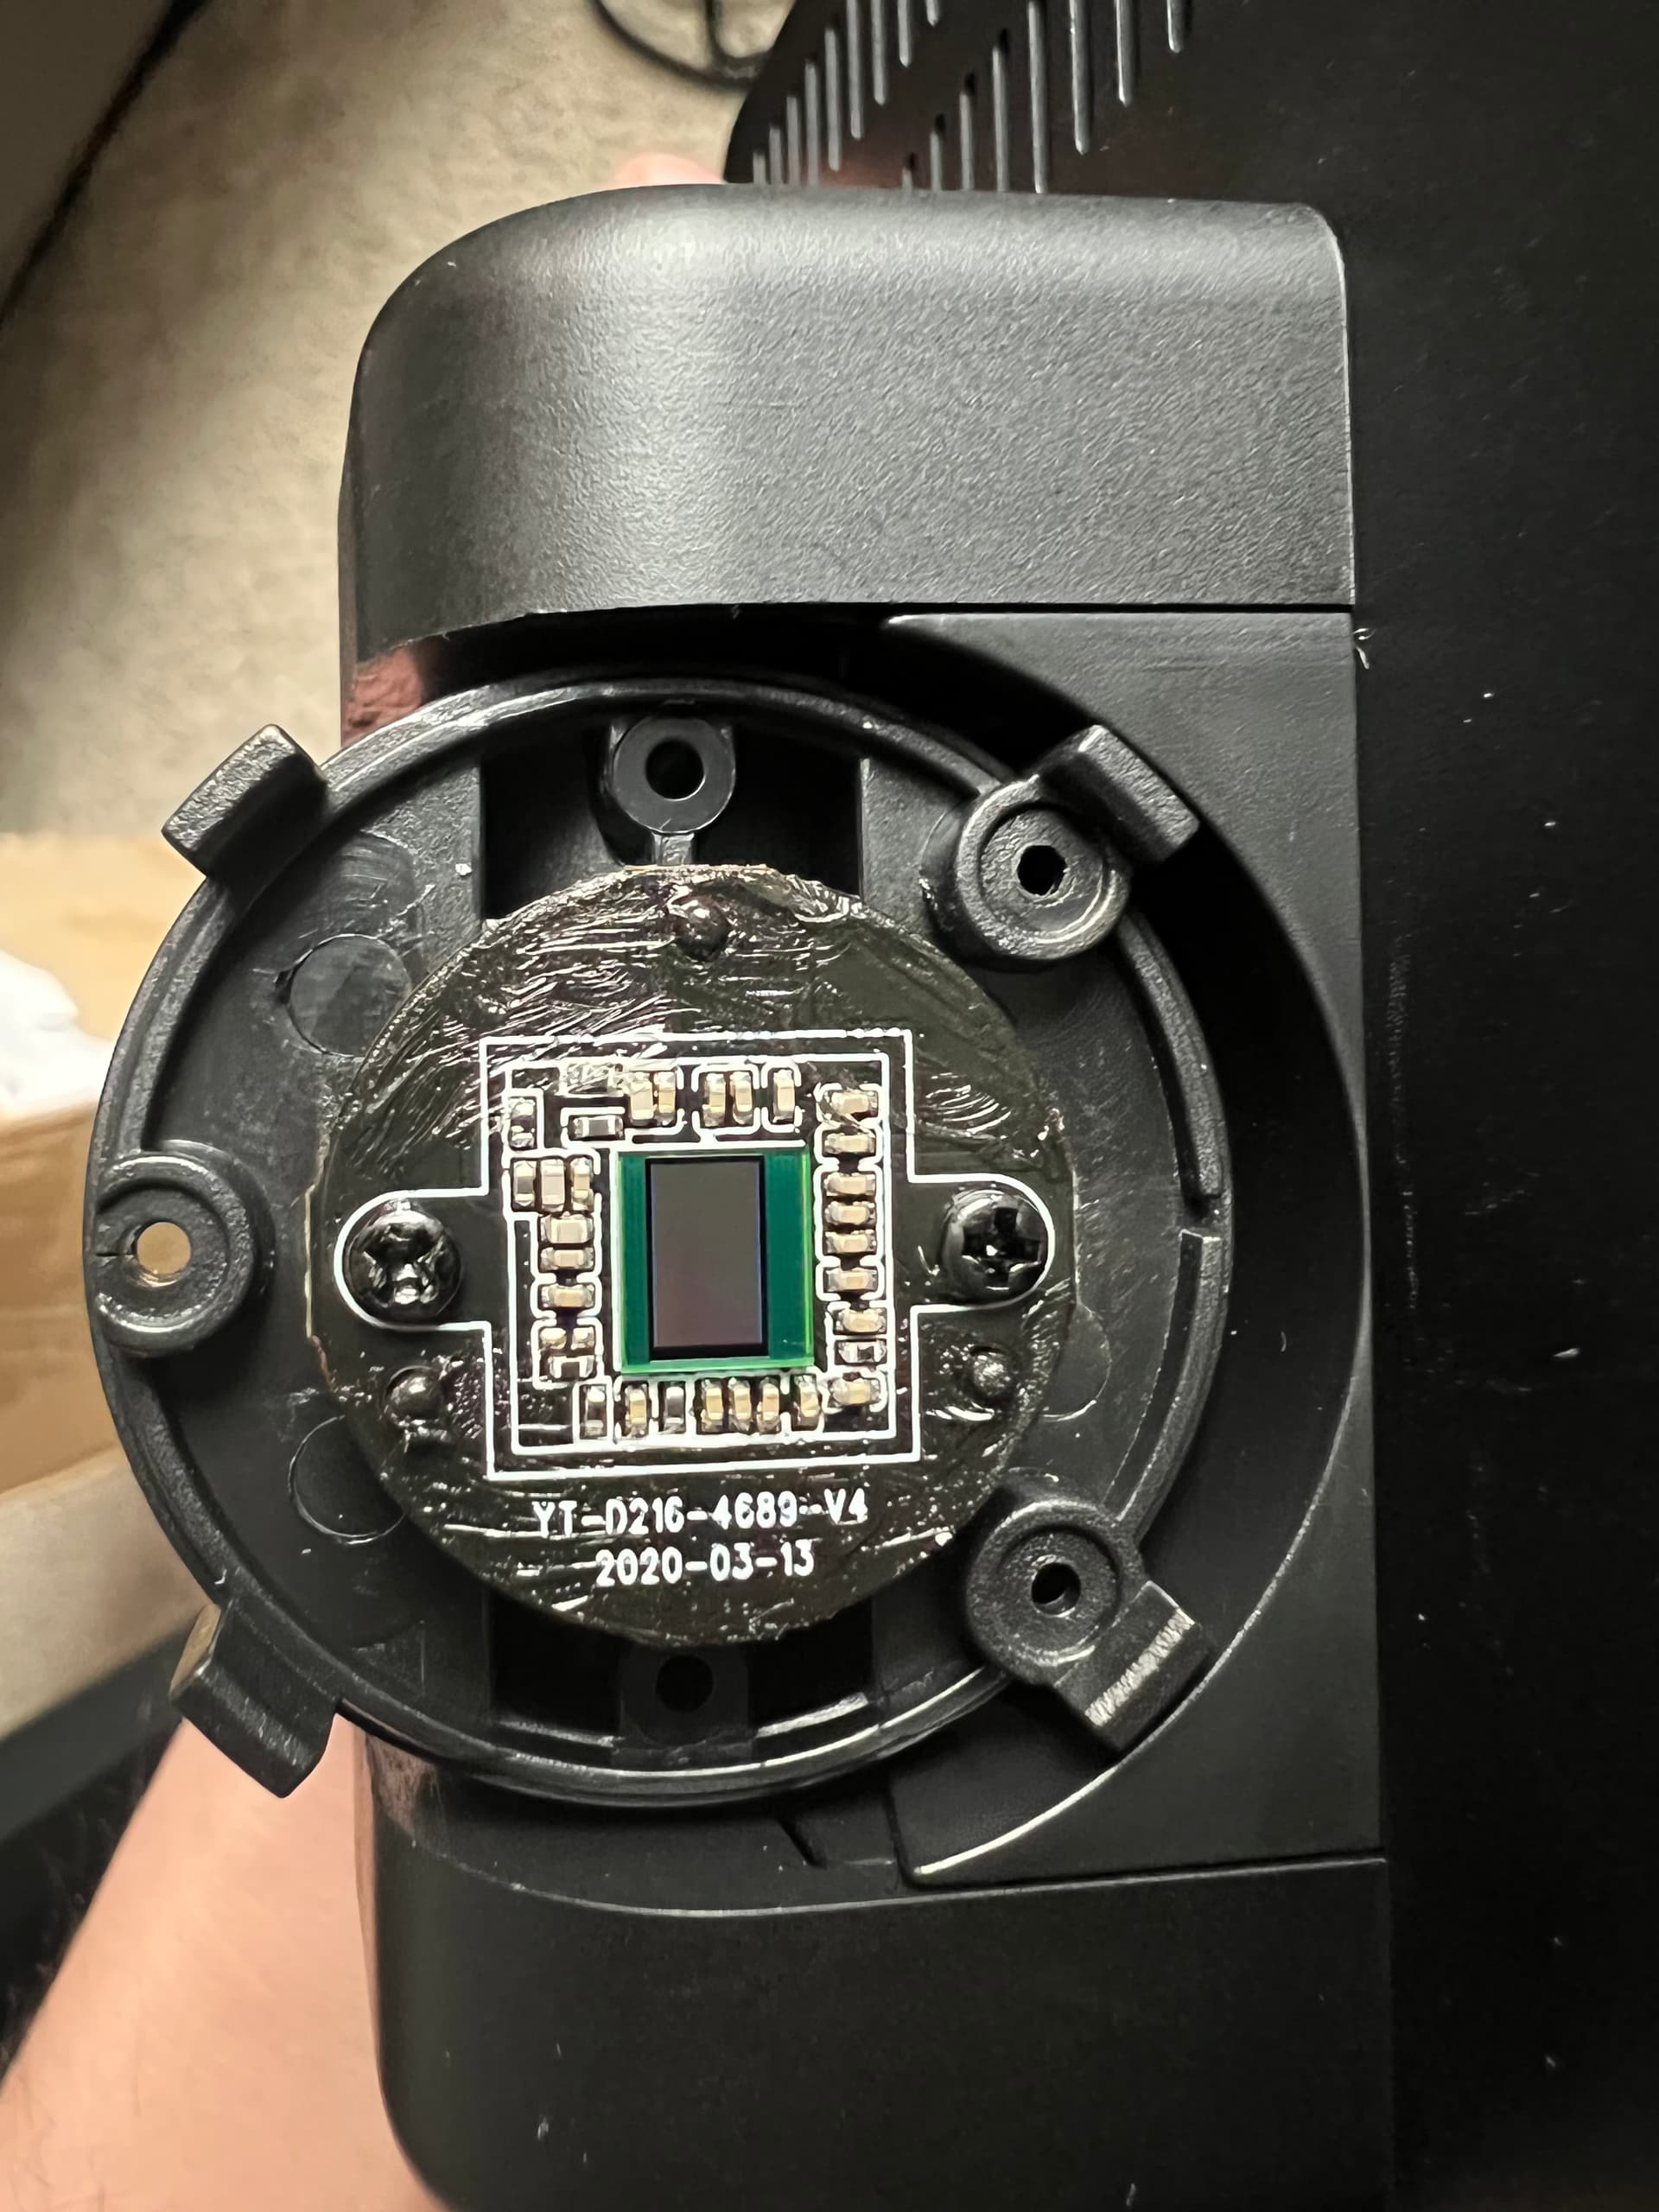
I also tried to find information about the sensor it hses, I couldn’t find any info on it neither. I know it’s 4mp, all I can find. If I can open it without voiding and warranty, I’ll try to see if I can find it. Wouldn’t know where to look honestly, but I’ll maybe try to snap some photos.
I’ll give it one last try. If it doesn’t work, it’s fine because I bought another switch with a terrible lcd and body, I swapped them out from the Bsod which was in much better condition. I might also use the lcd in this one to swap out with another switch I have as well. Kinda became useful for parts so not a complete lost. Just sucks I might’ve killed it when all it needed was a new fuel gauge.
Right, as we touched on earlier, joint issues can cause it (which could occur because of the reflow) and typically in the case of BSOD it’s the lines which interface with the ram. second case just plain destroying something internally due to the heat.
Haha yeah, sometimes you;ll see these videos and the chip has visibily slid into place then for whatever reason 10 secs later they’re nudging the thing like ten times… why!
The reality is once you get the troncular you won’t use the LCD/Digital… there is no reason too. the quality is inherently going to be better through the analog lense/s, so unless you plan to make videos about it there’s not much point ot digital (which you have the option with on a trinocular later down the road)
Thanks!. I’ve got no clue if they put a warranty sticker anywhere (they don’t on the regular style) but on the regular standard cams, once they’re opened, they typically have the sensor version printed on the PCB silkscreen… but might be different in this case (though I have a hunch as to what the sensor might be based on some other more standerdized cam on the market)
not a waste either way, you learnt some valuable info which you will remember as a result of this, which it’s best to learn while “failing”, besides, you’ve got yourself a project for the future once you’ve got more experience or worst case a donor which is always handy for comparisons sake at the least
tbh I wouldn’t bother with the camera, as I say, looking through the eyepeices is the superior option in every regard so it’s unlikely if you got the camera that you’d ever use it unless of course you intend to release recorded videos and the like
If you are set on getting a camera, it’s a tricky subject to find and get a decent one (which is why I’m curious about what sensor it is they use in your one earlier) there is a lot of junk ones on the market, some have decent specs but will look overly dark which likely relates to sensor size and other factors. The Eakins store is known to be scamming customers by selling cameras with XYZ sensor and then turning out it’s using a much older and cheaper sensor with most people being left non the wiser… so your going to have to look into it a bit more
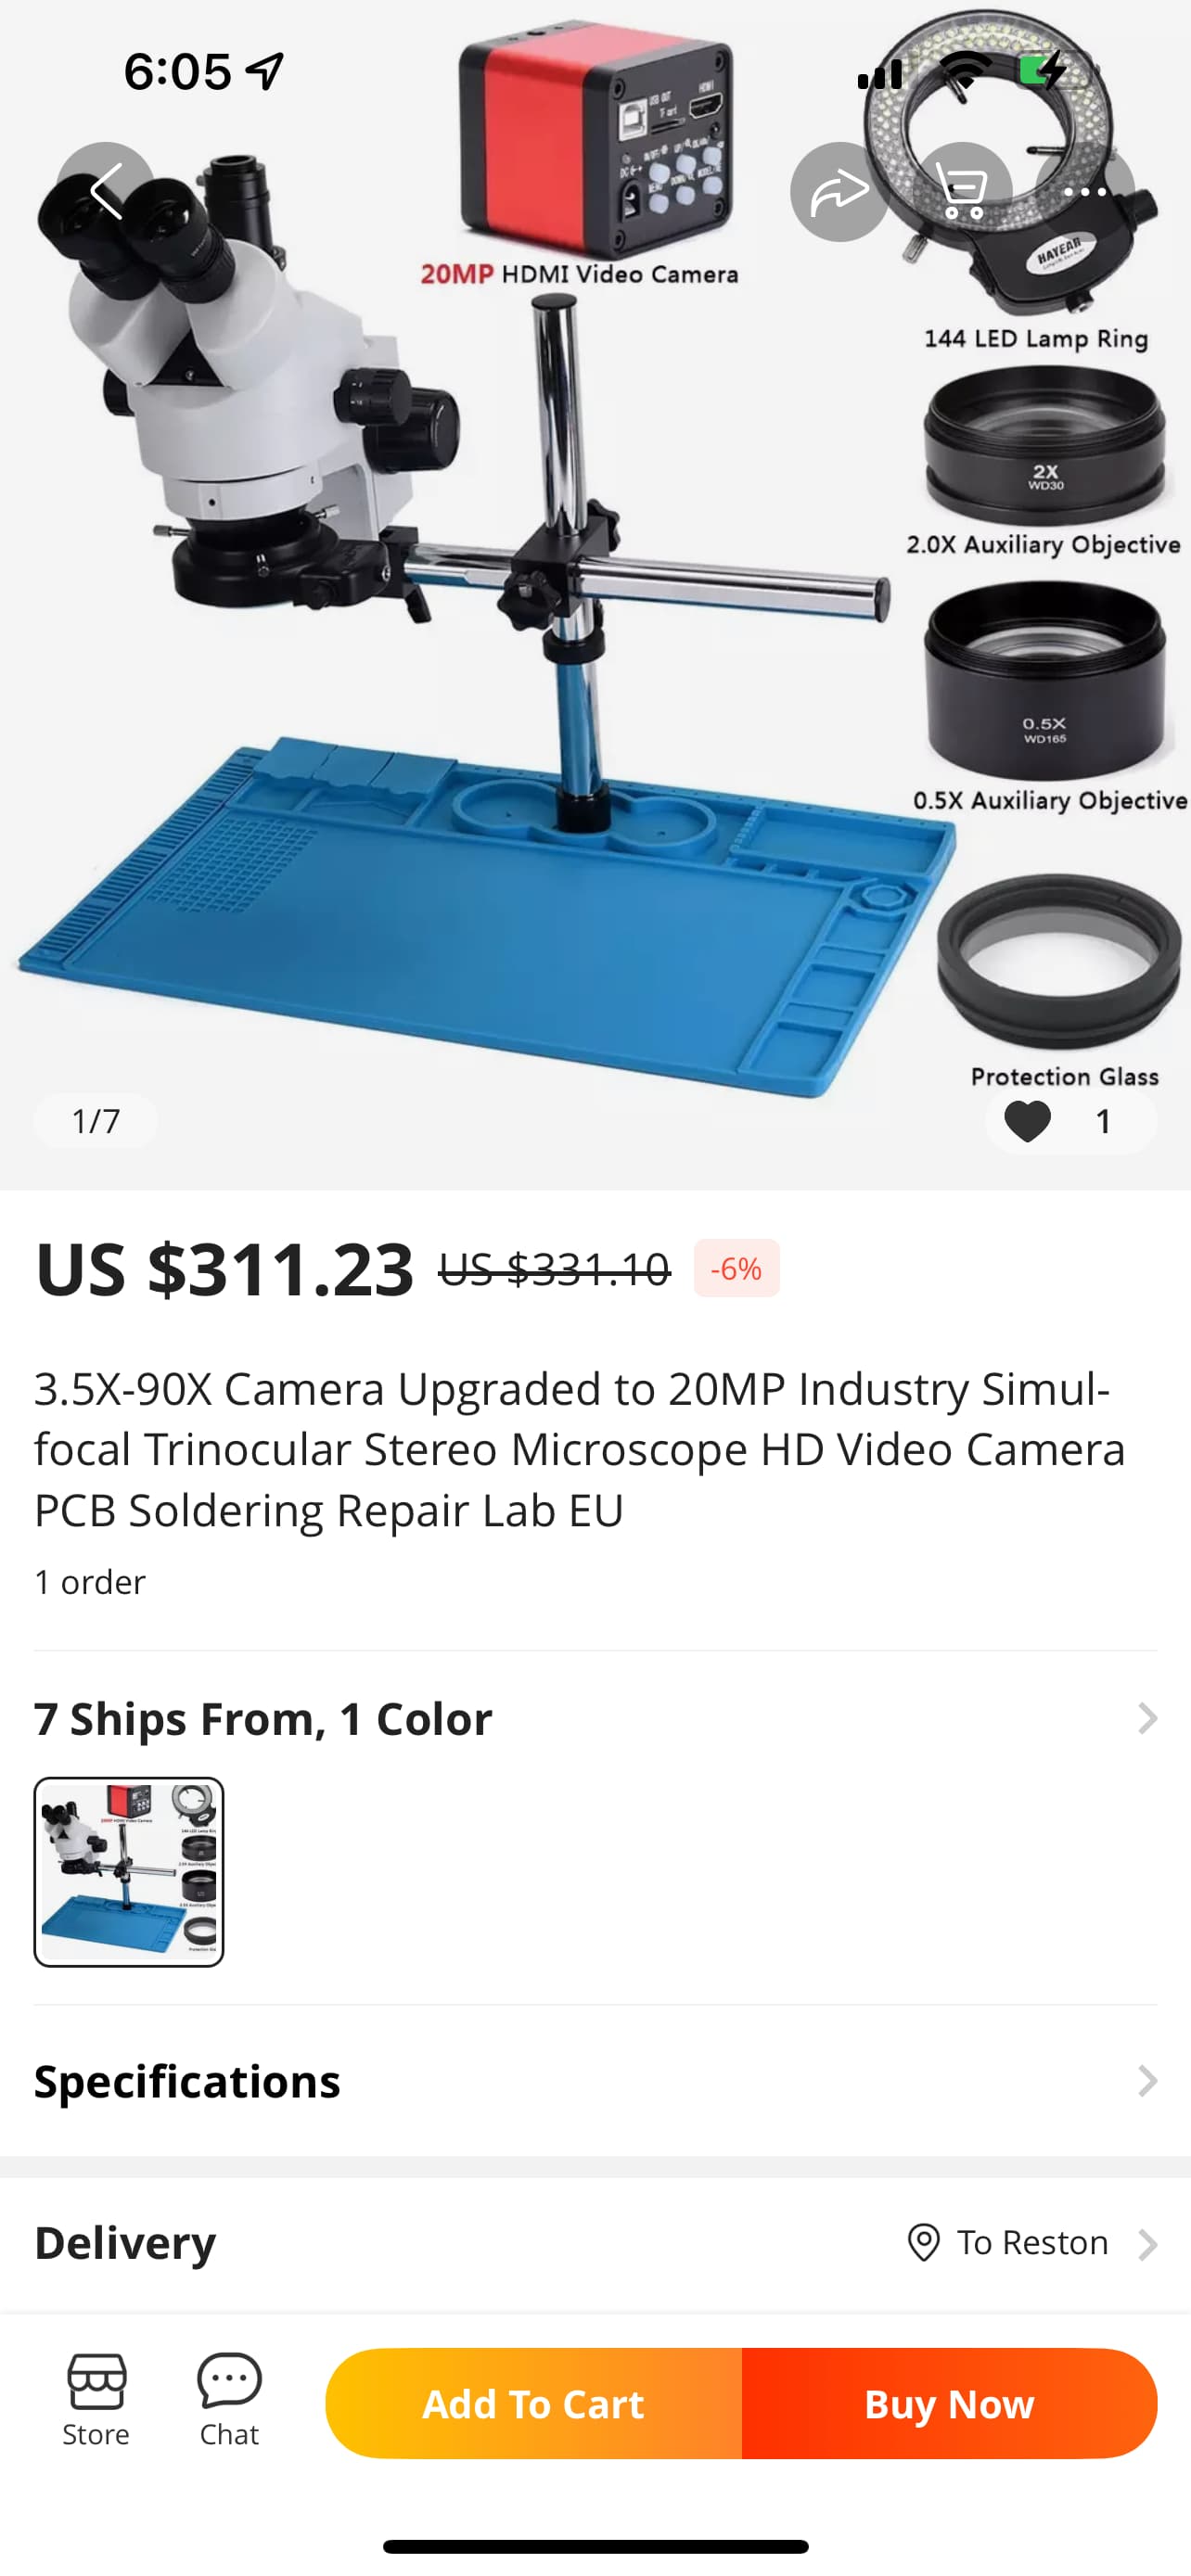
btw I saw this listing… dunno if it’s anycheaper (with the camera option) than the other, but free shipping
It’s become painful trying to filter search results on Aliexpress in recent months which makes it really difficult to find things at the best price… almost as bad as Amazons search
It would probably work out cheaper buying the two together in a bundle but your far more likely to get a junk camera in the bundle (even if there is a cost saving vs individually)
I wouldn’t even know what camera to reccommend to get as part of a bundle or independently as I have not seen any from content creators which I’m particularly happy with quality wise - but as I mentioned above, you’d only be getting one if the intention is to record content, you’d never willingly look at an LCD when you have the option of native optics
I’m not crazy about a camera tbh, like Severence mentions, it’s only necessary if I plan to upload videos or what not, which at the moment I don’t think I am.
Also @Severence , I haven’t forgotten about checking the sensor in the digital I have. Just haven’t had the chance yet. Will definitely give it a try once I have the opportunity
I’m curious too what sensor they use and what else it’s being used with
I only have a cheap digital microscope… I think it was about £50.
It’s not amazing, but I haven’t found anything I couldn’t use it for. For me the main advantage of the digital is that I dont have to lean forward to use it, I can sit at what ever pose doesn’t hurt my slightly dodgy back.
I’ve always wondered if this would be a trade off worth considering or not.
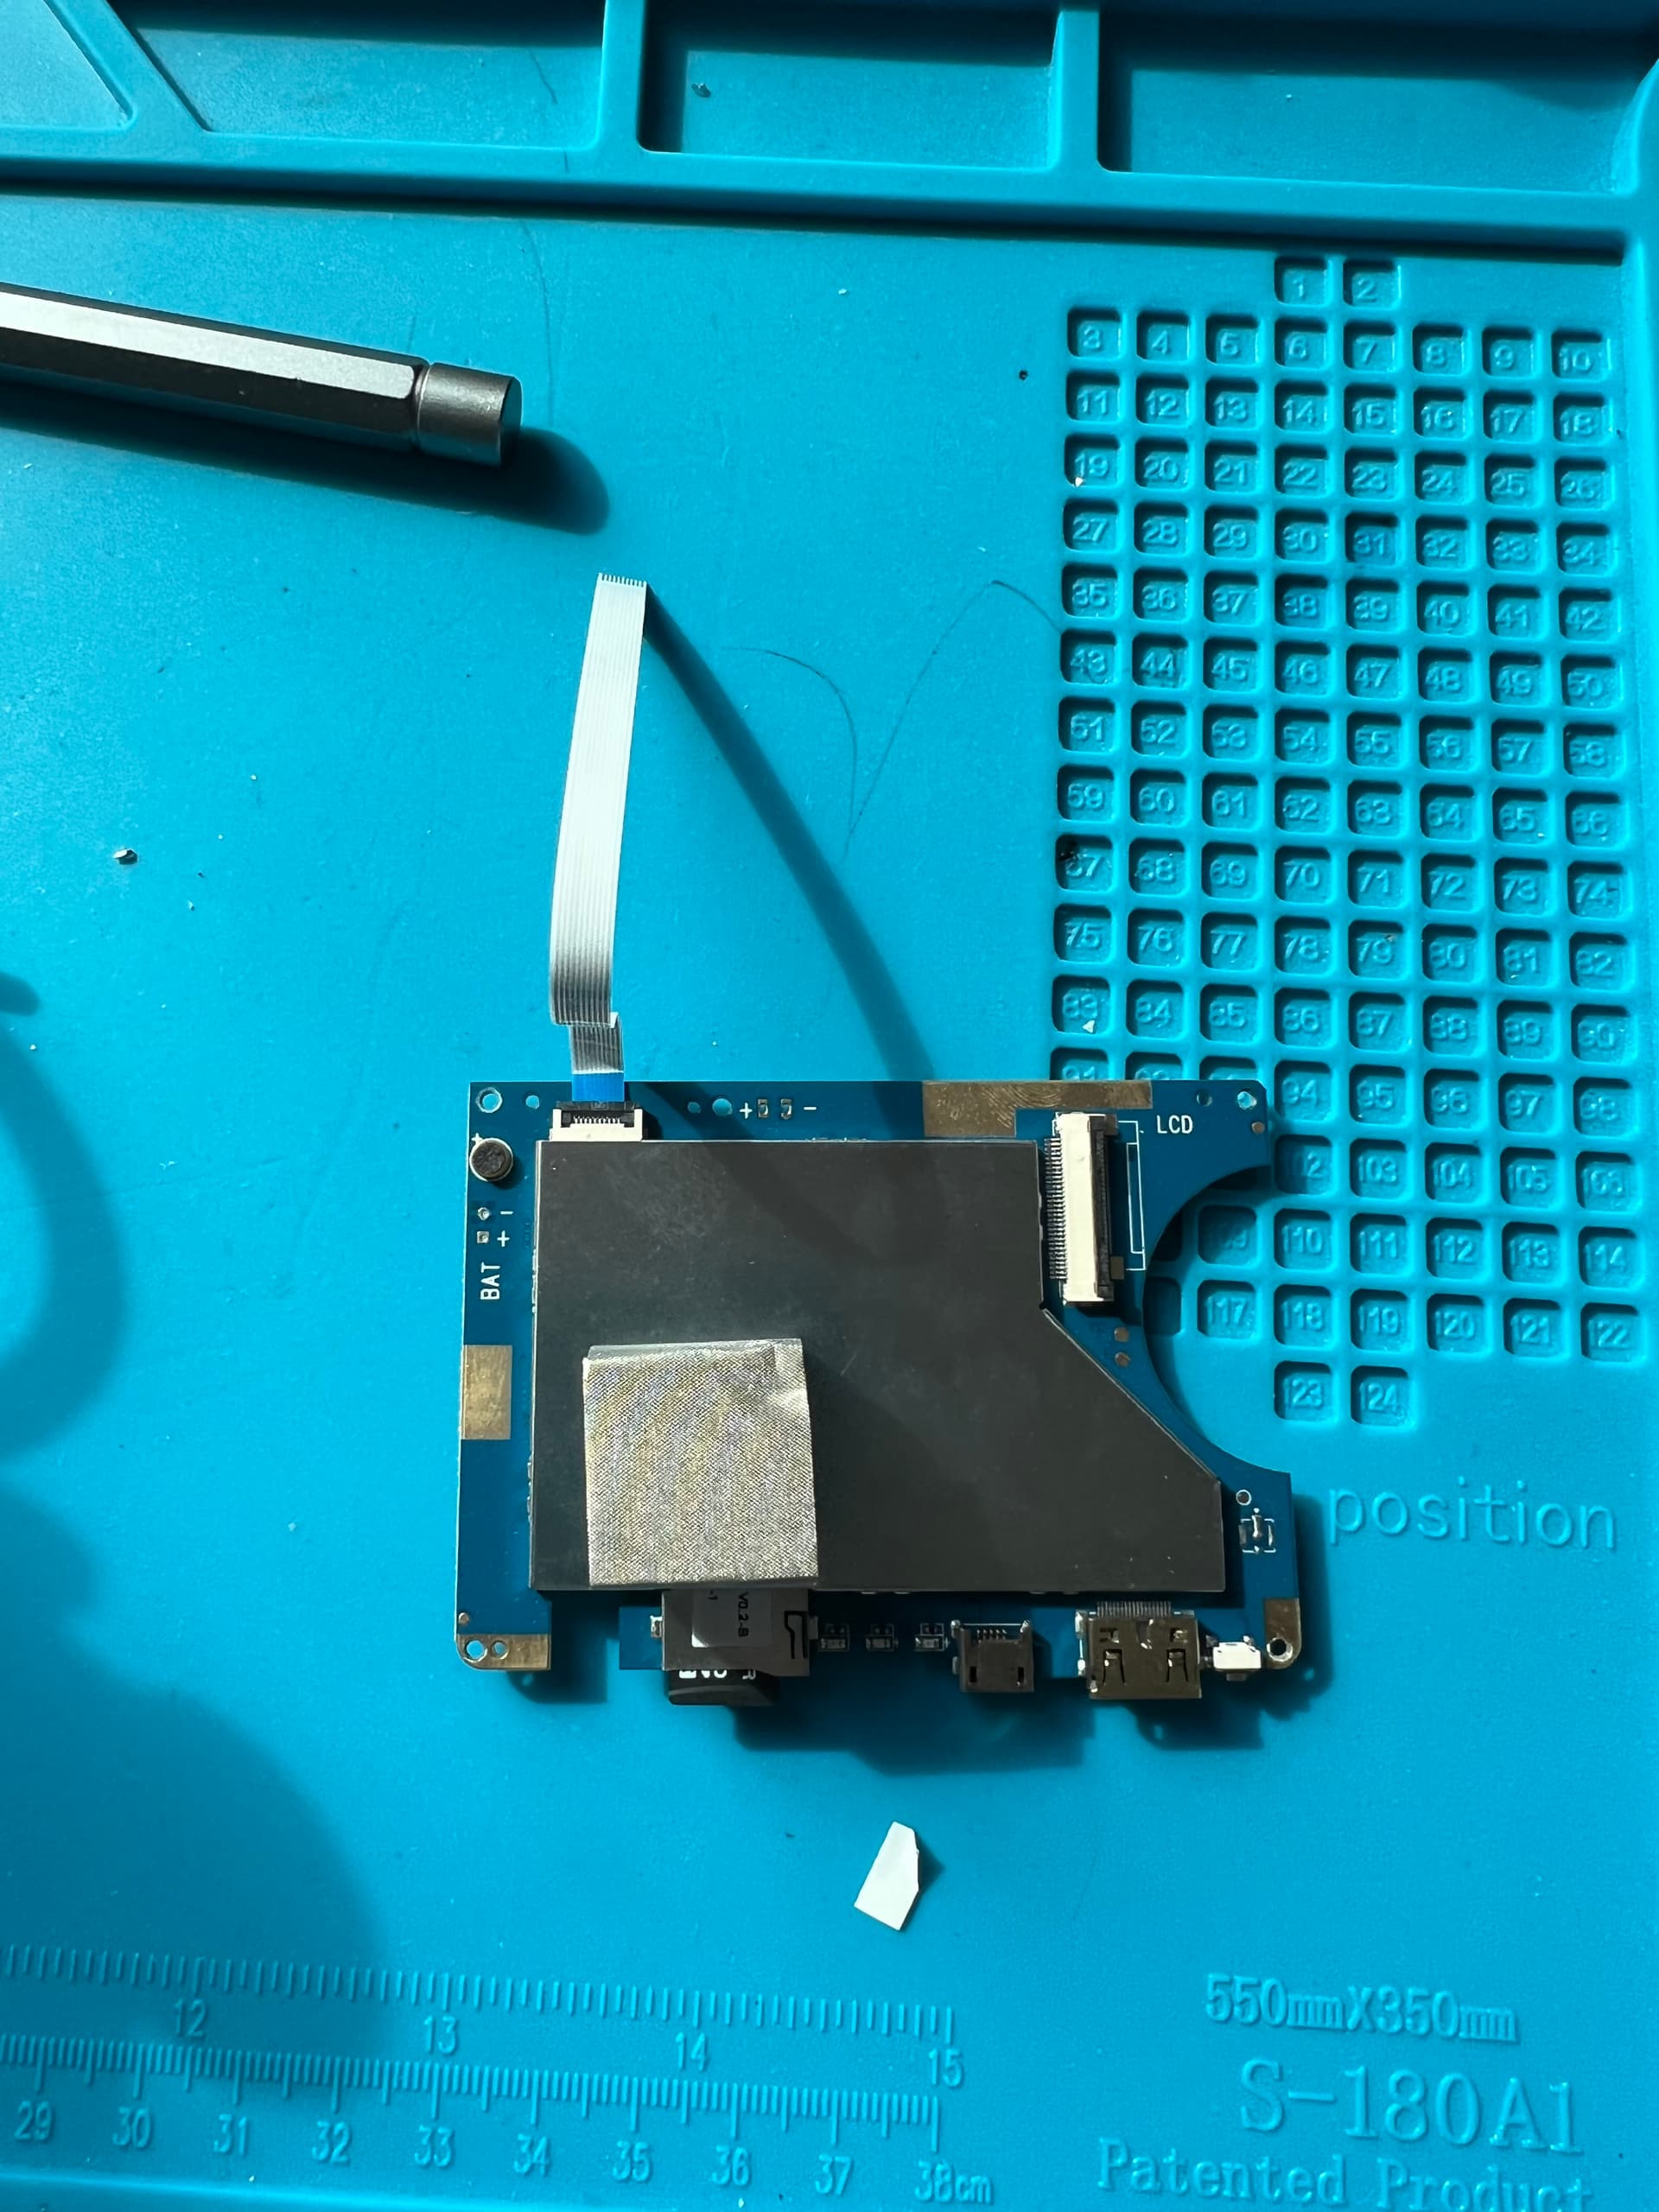
@Severence I was finally able to take the panel apart, and unfortunately they put some aluminum cover over the IC’s on both sides.
I made an attempt to remove it, but it definitely required more force and I didn’t want to risk any damage or marks since I don’t plan on keeping this model.
It would be a a significant tradeoff in terms of cost to performance ratio, notably in the quality department and more importantly FOV
That being said a cheap digitial microscope can get the job done, in the same way an iPad or phone camera could serve as a makeshift microscope with a cradle but the experience might not be pleasant .
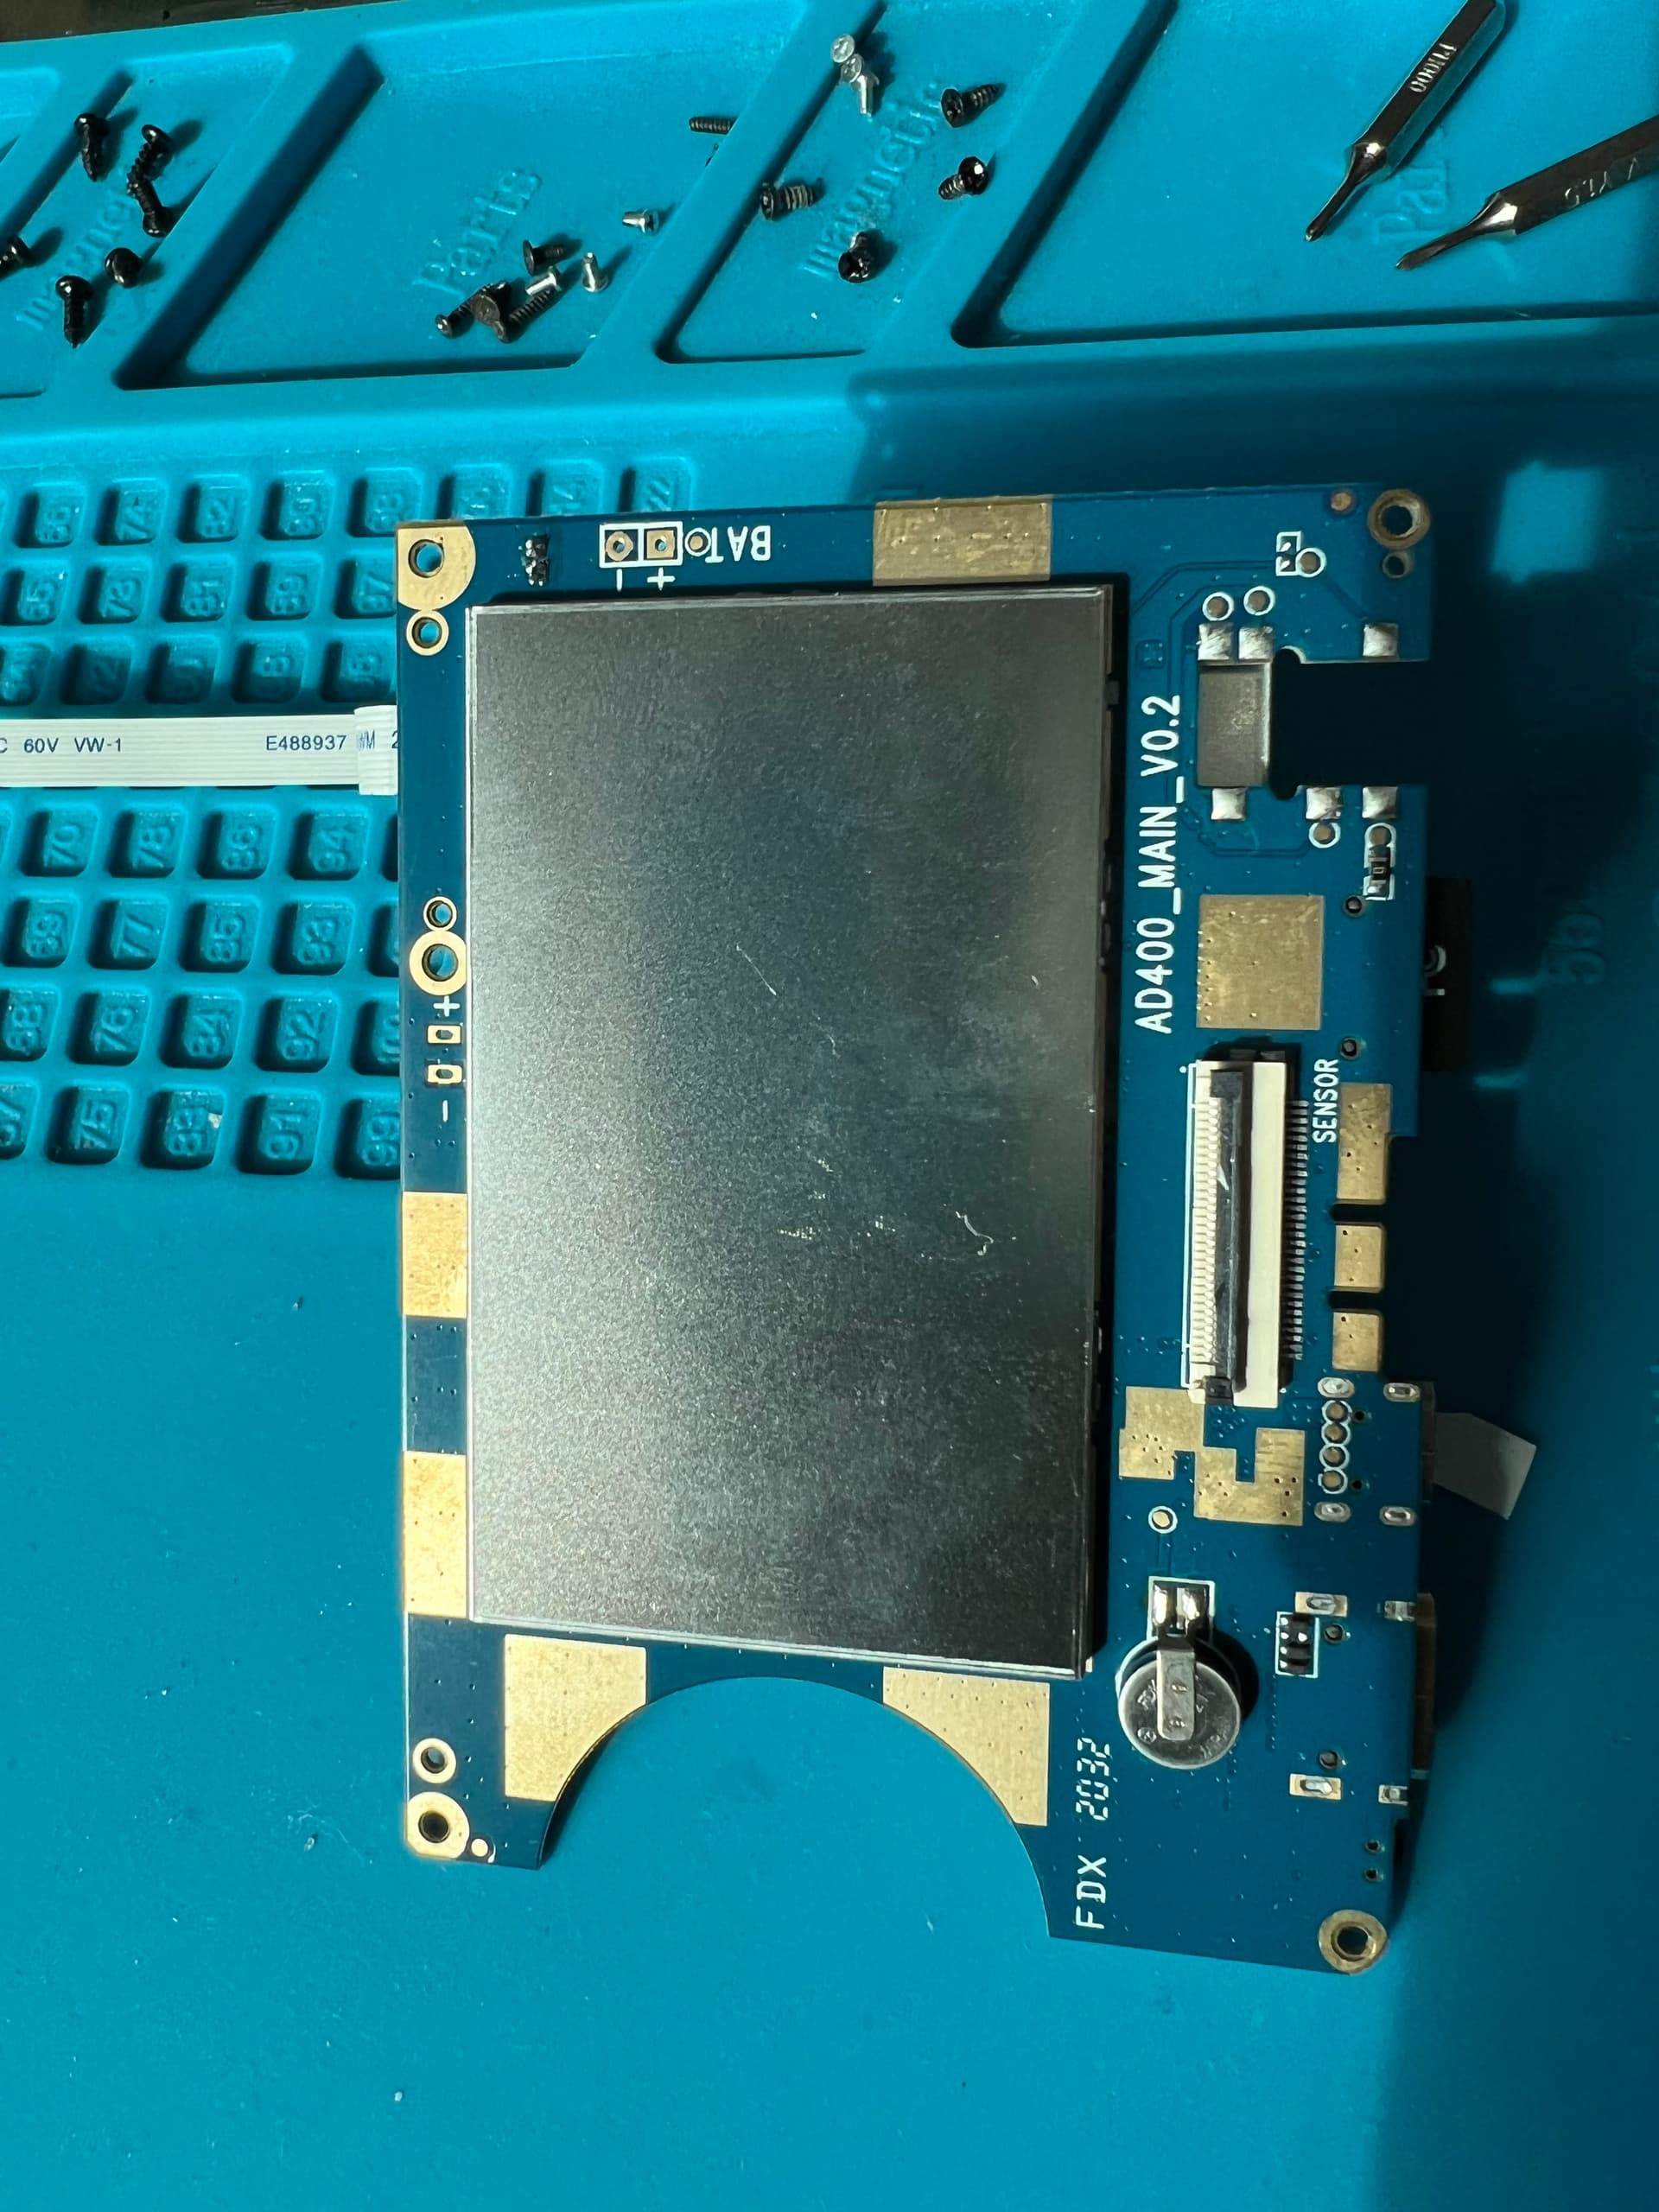
No worries, thanks for taking a look. Definately don’t risk damaging it for my sake. I’d imagine if there is any silkscreen indicating the sensor used that it’ll be on wherever that “sensor” ribbon in your image is heading off too, which I’d guess is another sub PCB
After reading this, I’ve decided to take another look at where the ribbon goes to, it goes into the actual LCD unit.
There does seem to be a mechanism that latches the LCD to the tube with the lens, but it was made out of plastics and again, didn’t want to risk anything and not be able to return it.
So unfortunately, I still wasn’t able to get any real information regarding the sensor. Seems like they want to keep it concealed.